
This guide walks you through connecting your Google Workspace email to Zip's Email Security feature. Once connected, Zip will be able to surface email security insights for your organization.
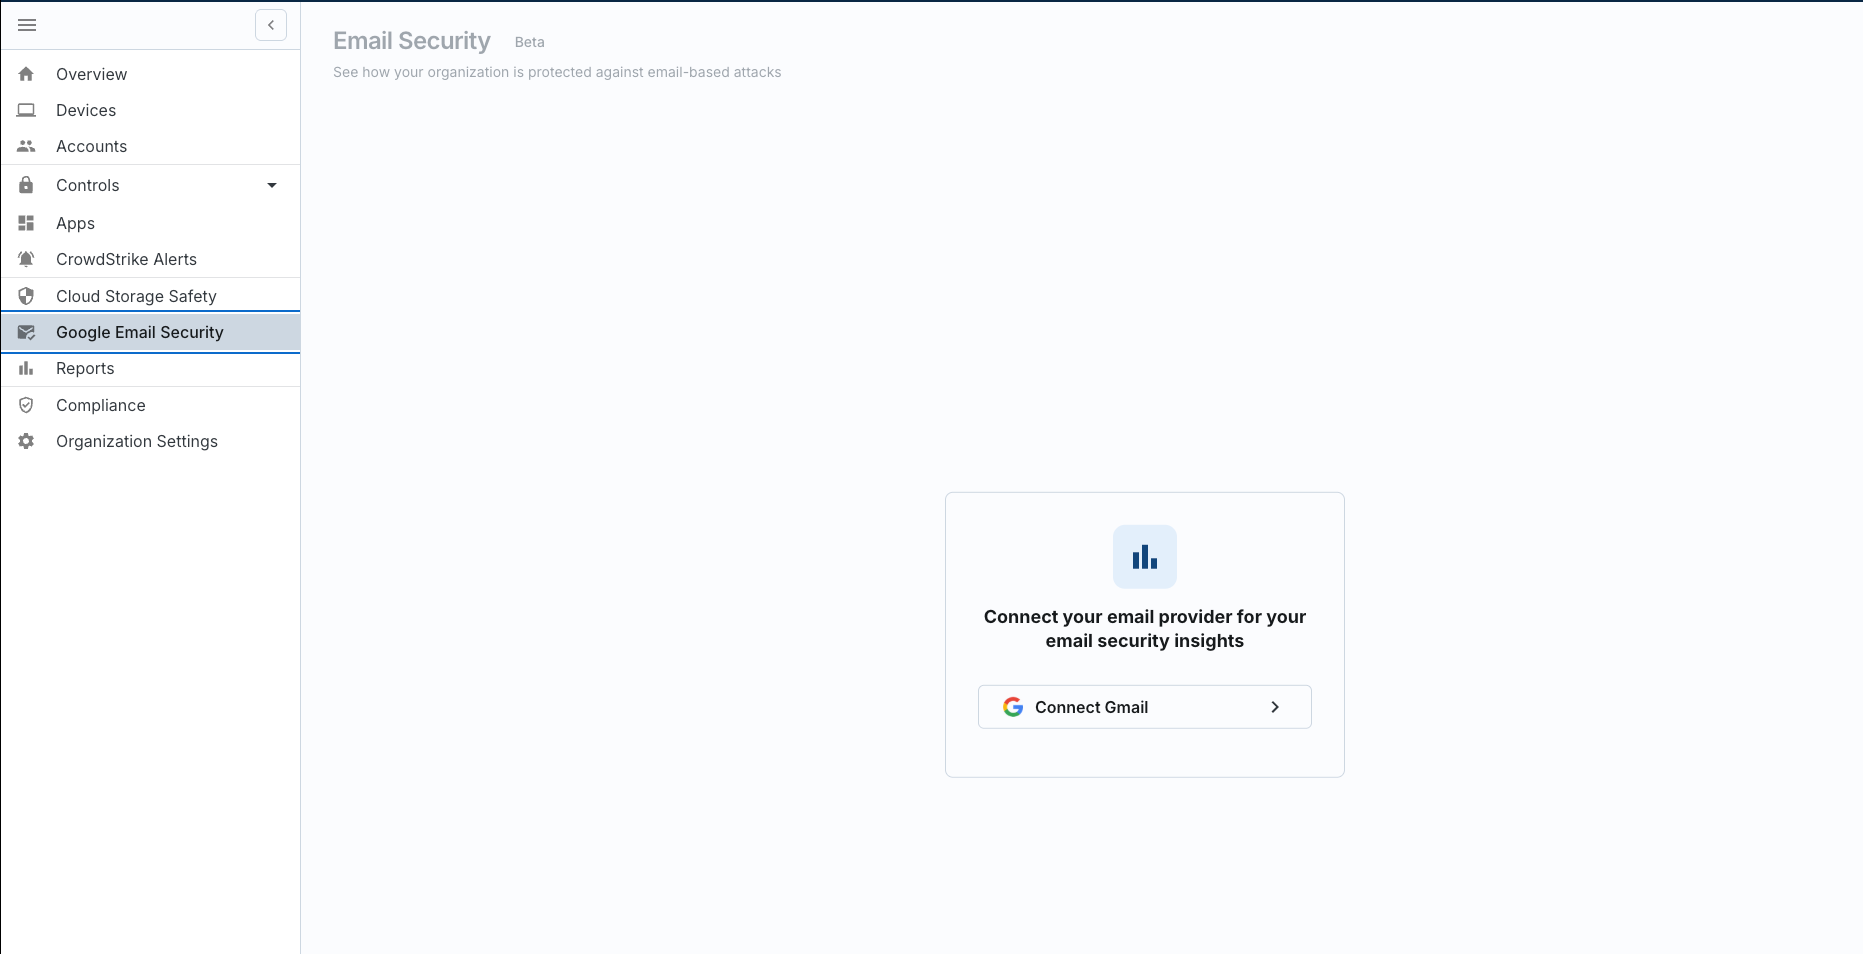
Step 1: Open Google Email Security and click "Connect Gmail"
In the Zip left navigation, click Google Email Security. You will see a prompt to connect your email provider. Click Connect Gmail to begin.
Step 2: Name your provider
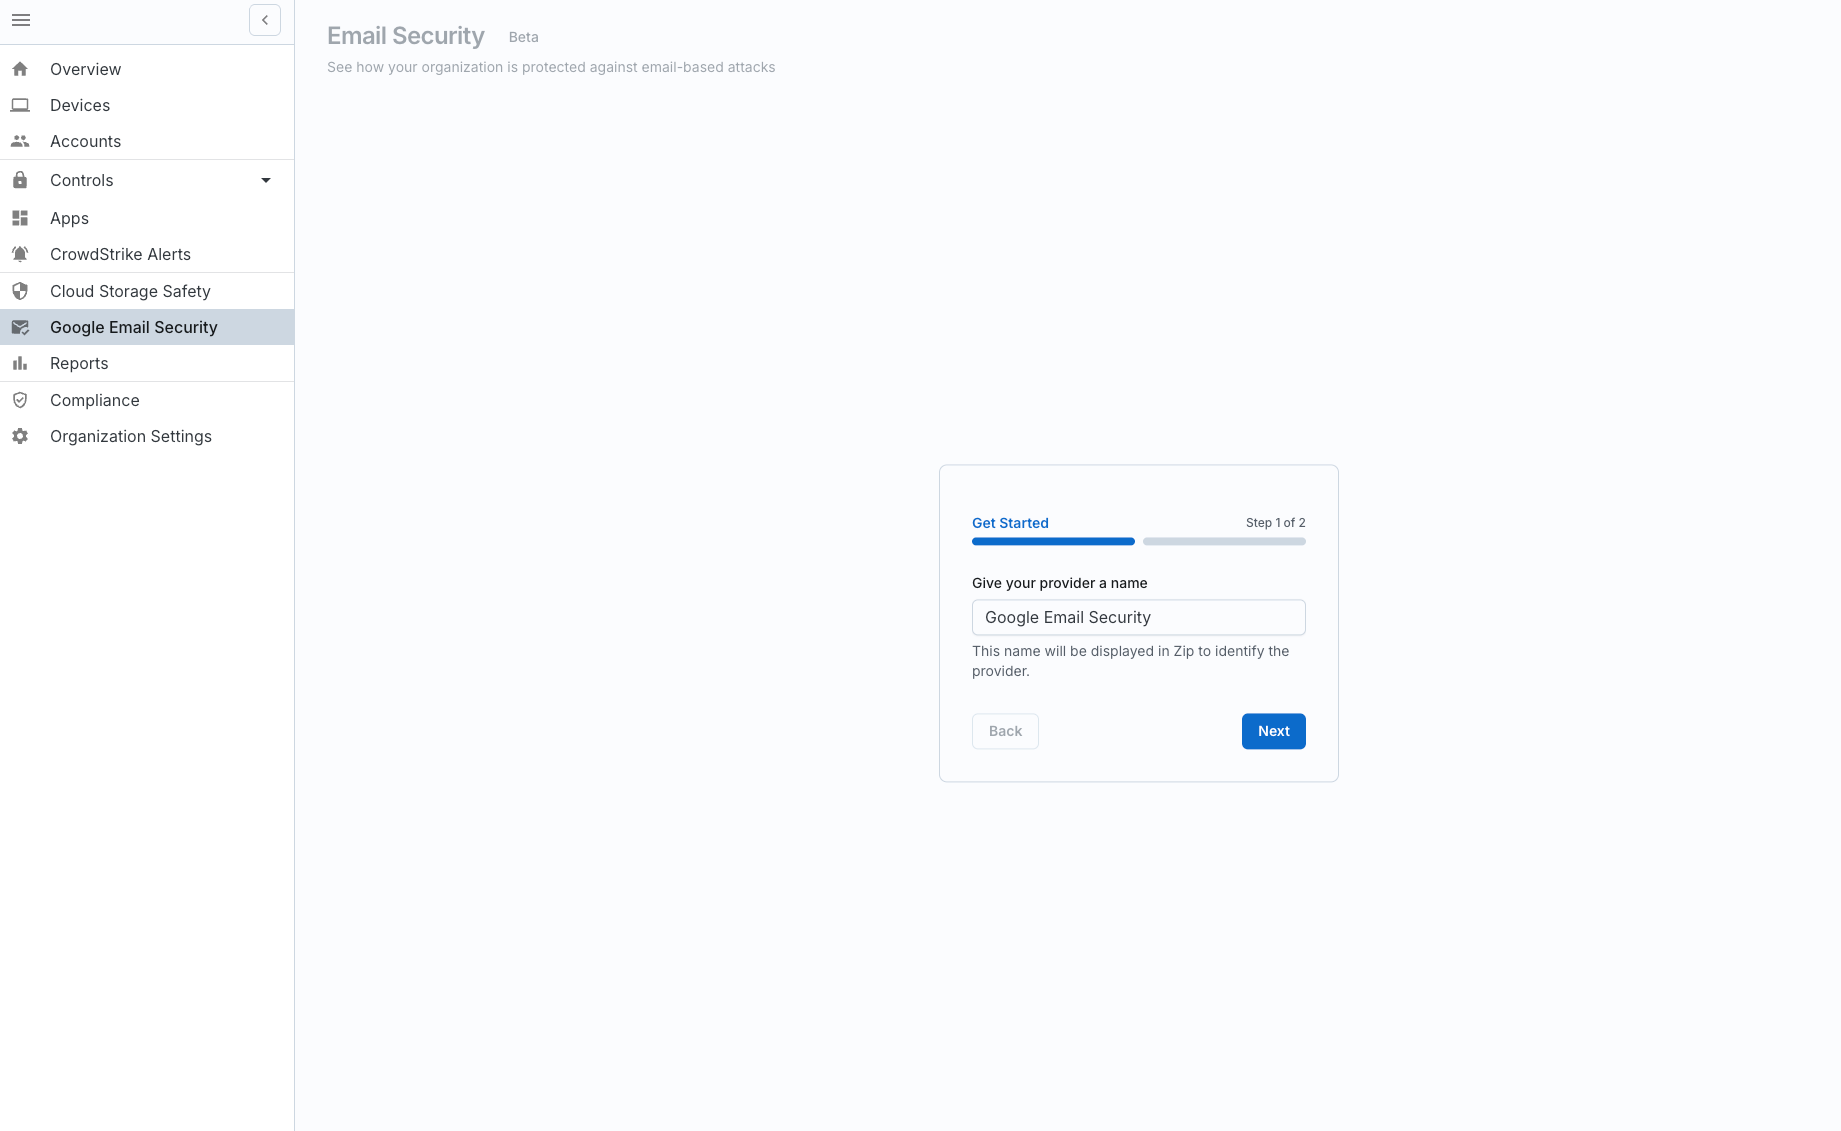
A setup wizard will appear. In Step 1 of 2, you will be asked to give your provider a name. The default value is
Google Email Security, which you can keep or customize. This name is used to identify the provider within Zip.Click Next to continue.
Step 3: Sign in with Google (admin account required)
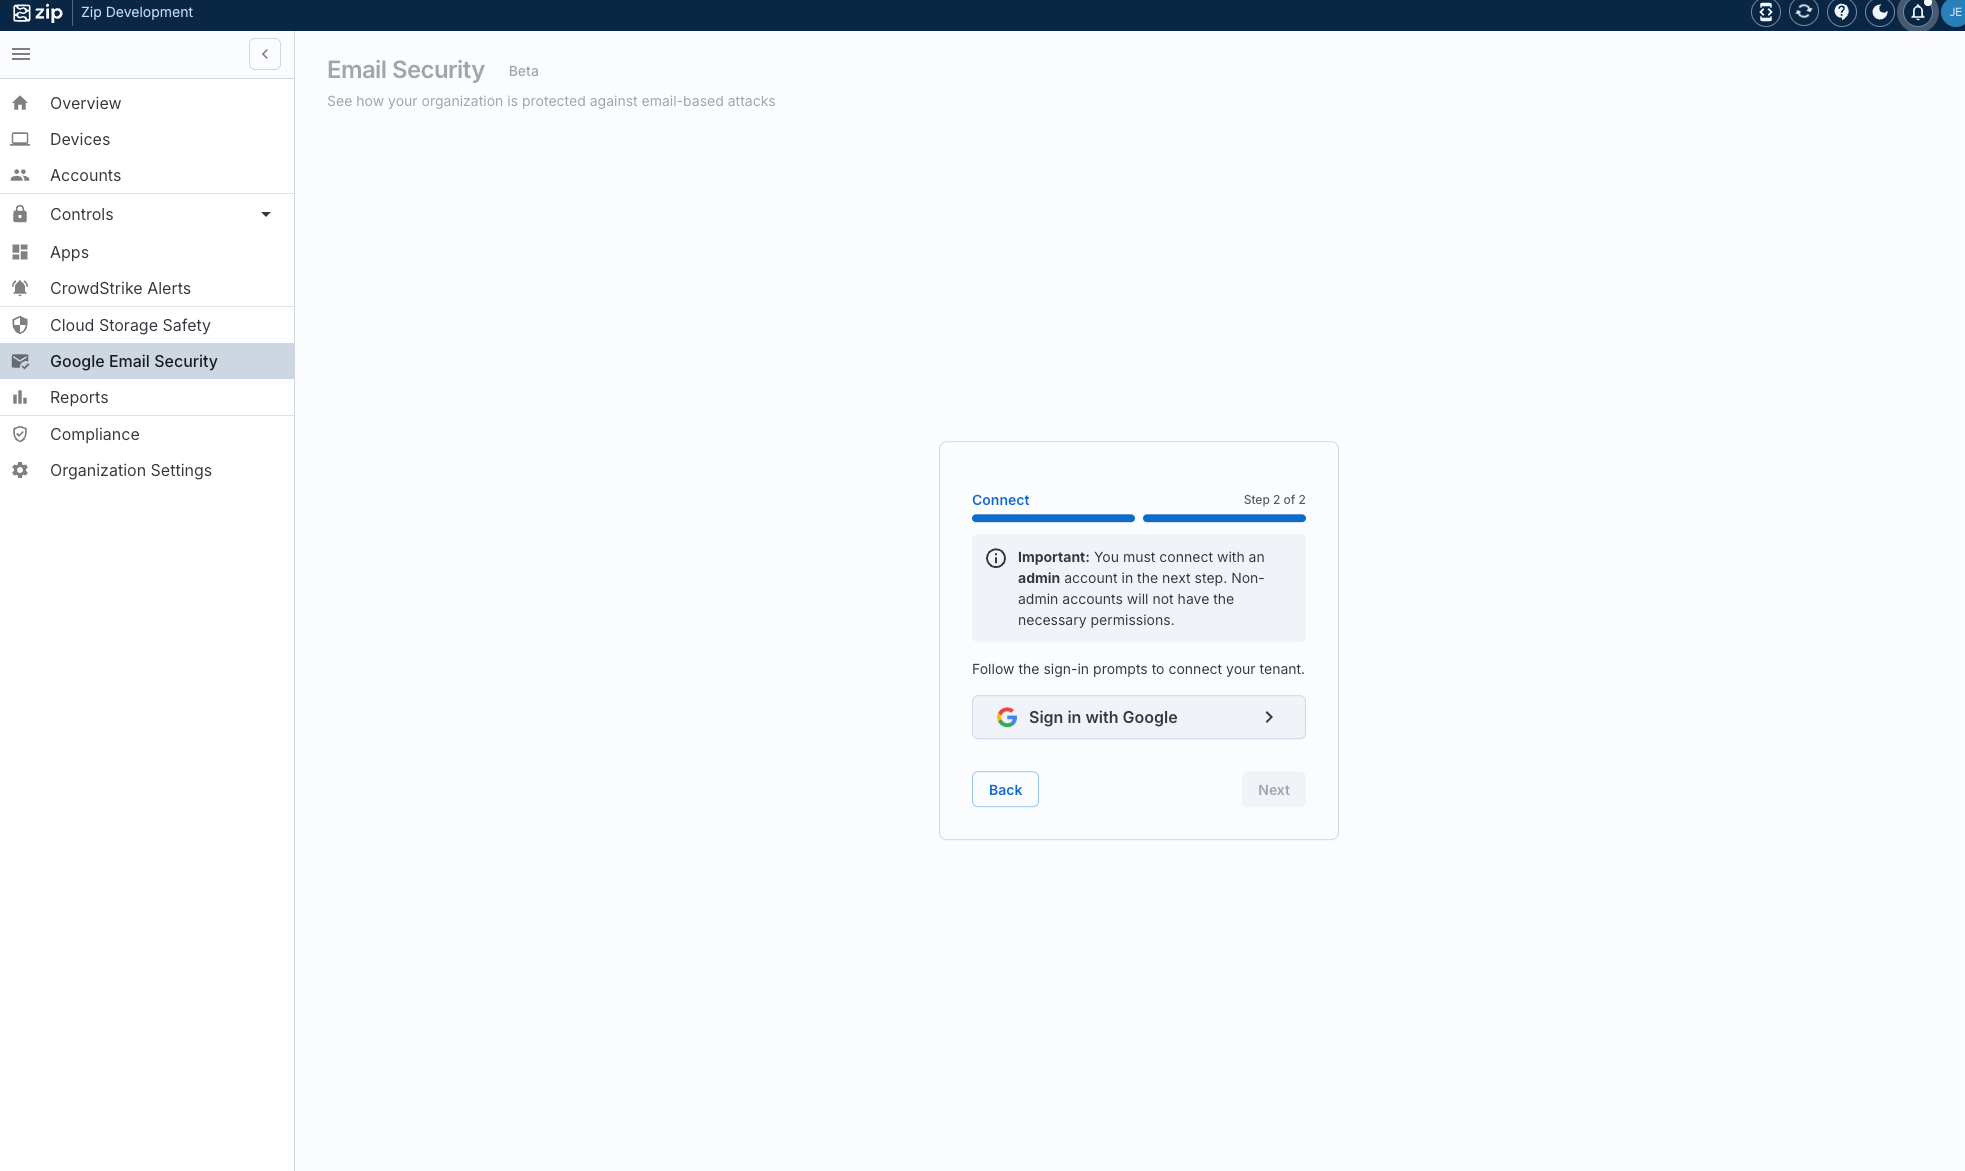
In Step 2 of 2, Zip will prompt you to sign in with Google.
Important: You must sign in with a Google Workspace admin account. Non-admin accounts will not have the necessary permissions to connect.
Click Sign in with Google to open Google's authentication flow.
Step 4: Choose your Google admin account
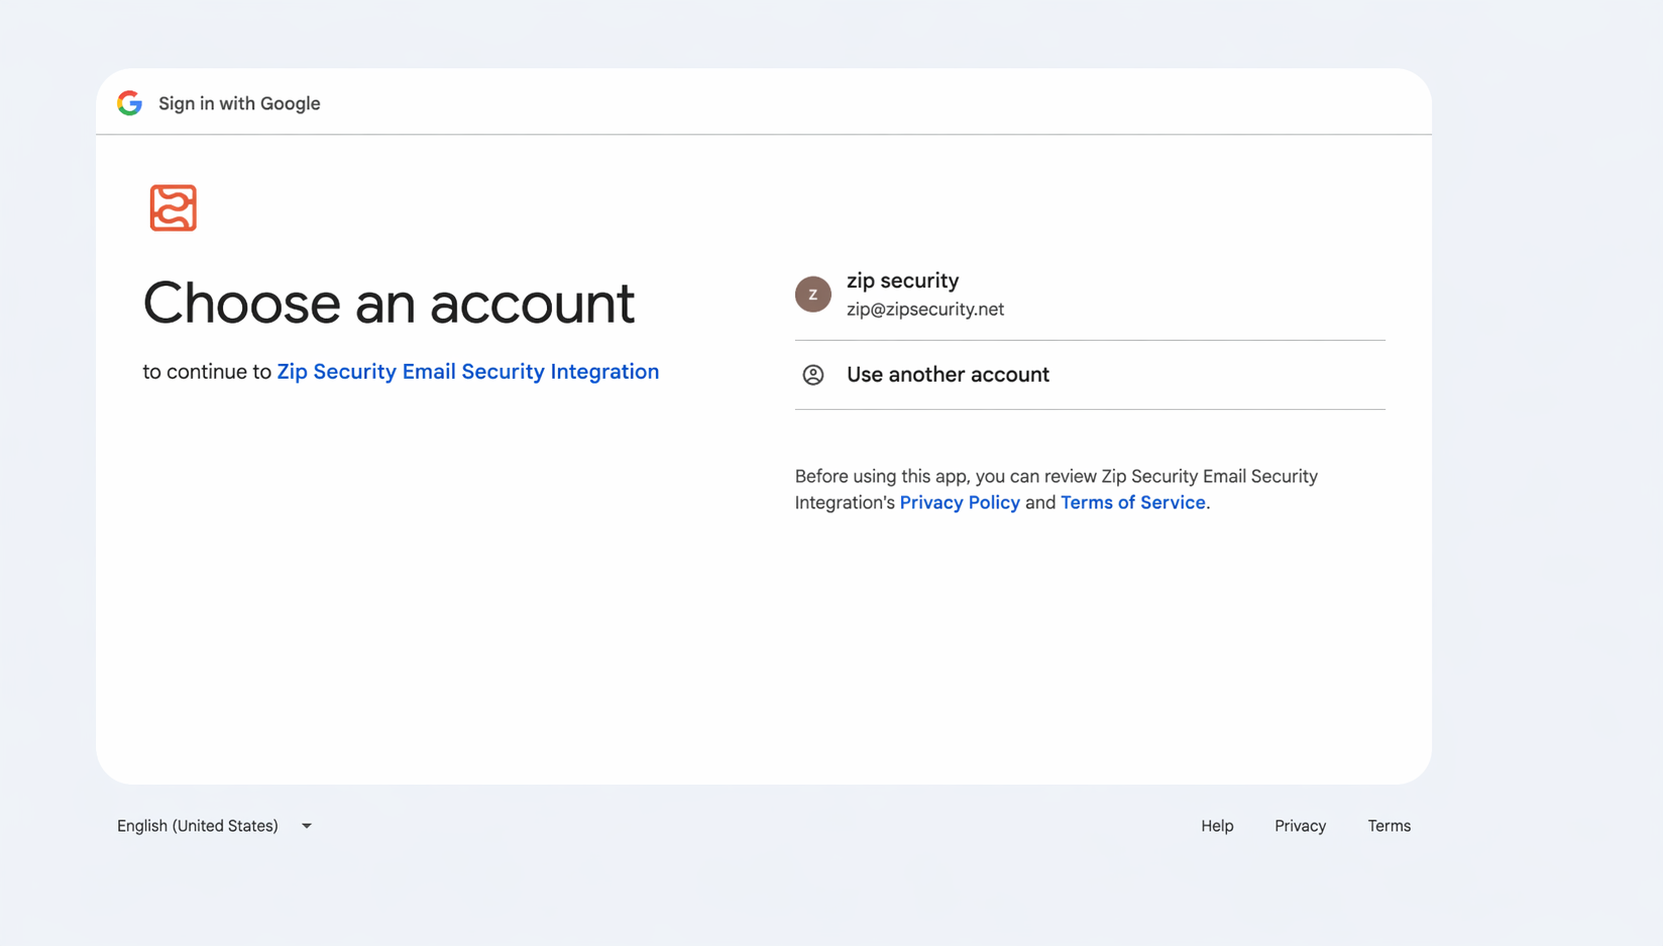
Google will ask you to choose an account to continue to Zip Security Email Security Integration. Select your Google Workspace admin account from the list. If it is not shown, click Use another account to sign in.
Step 5: Grant access to your Google Account
Google will show a permissions screen indicating that Zip Security Email Security Integration wants access to your Google Account. Review the requested permissions, then click Select all and then Continue to grant access and complete the connection.
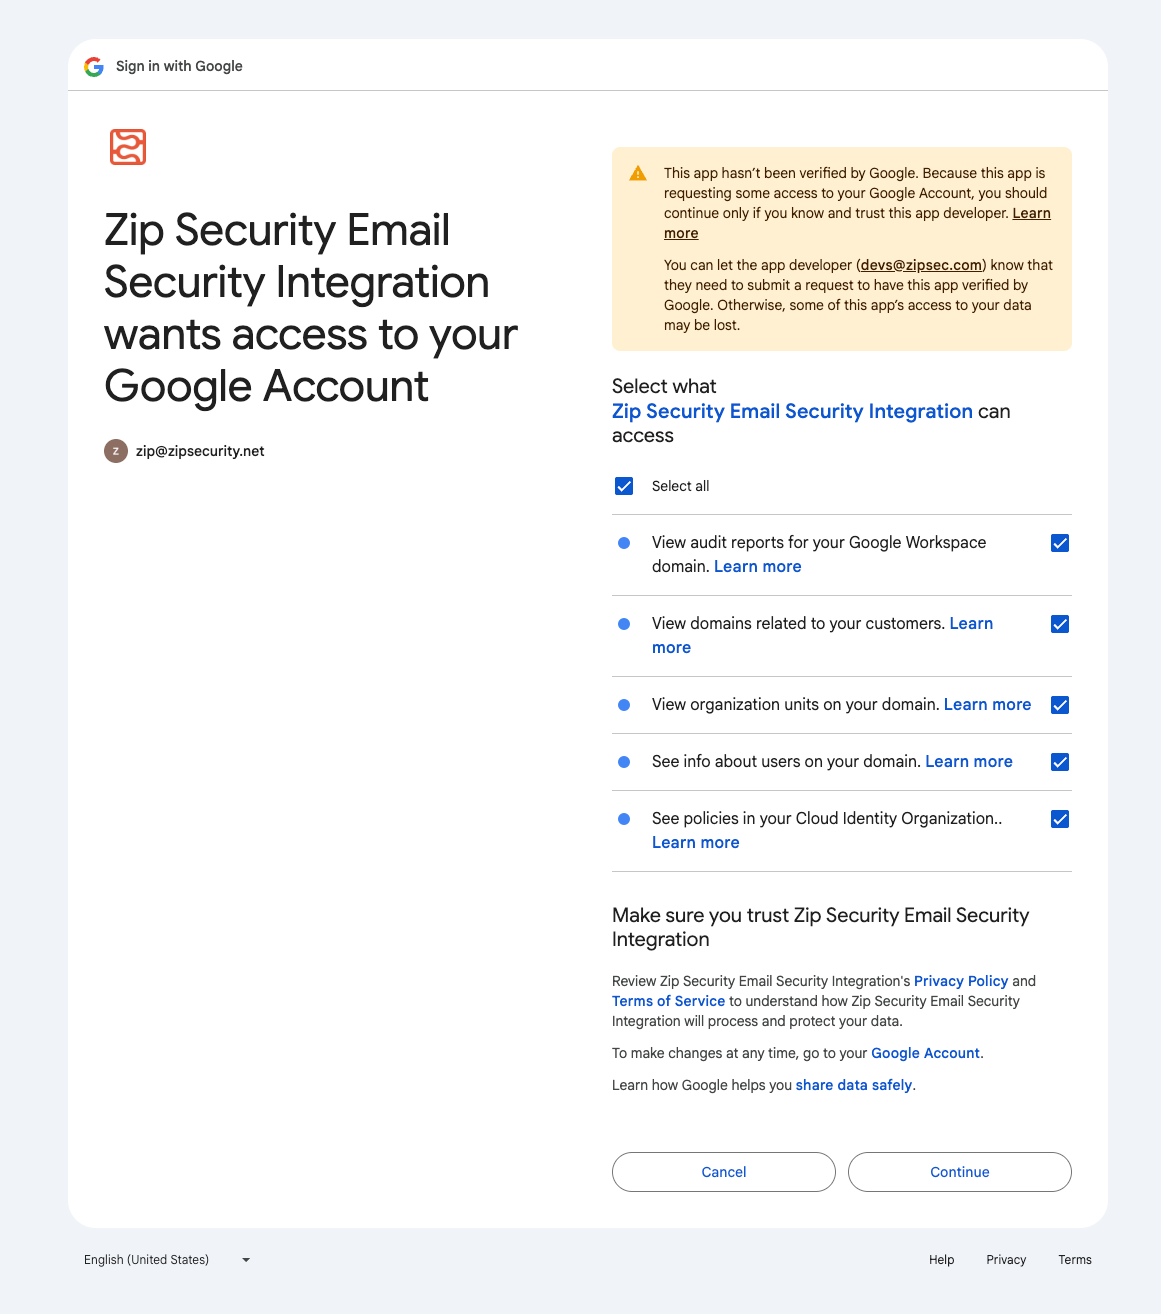
Once you click Continue, Zip will finish connecting your Google Workspace and you will be returned to the Email Security page. Here, the data may take some time to fully sync with a newly connected email provider, but the data will begin populating.