Setting up a Zip Security & Google Device Management Integration
Connecting Google Device Management lets Zip manage Chrome browsers in your Google Workspace, link browsers to devices, and read basic device information.
Before you start
You need a Google Workspace super admin account. Accounts with a lesser admin role do not have the permissions Zip needs. To check, open Directory → Users in the Google Admin Console, select your user, and look for Super Admin under Admin roles and privileges.
Connect Google Device Management
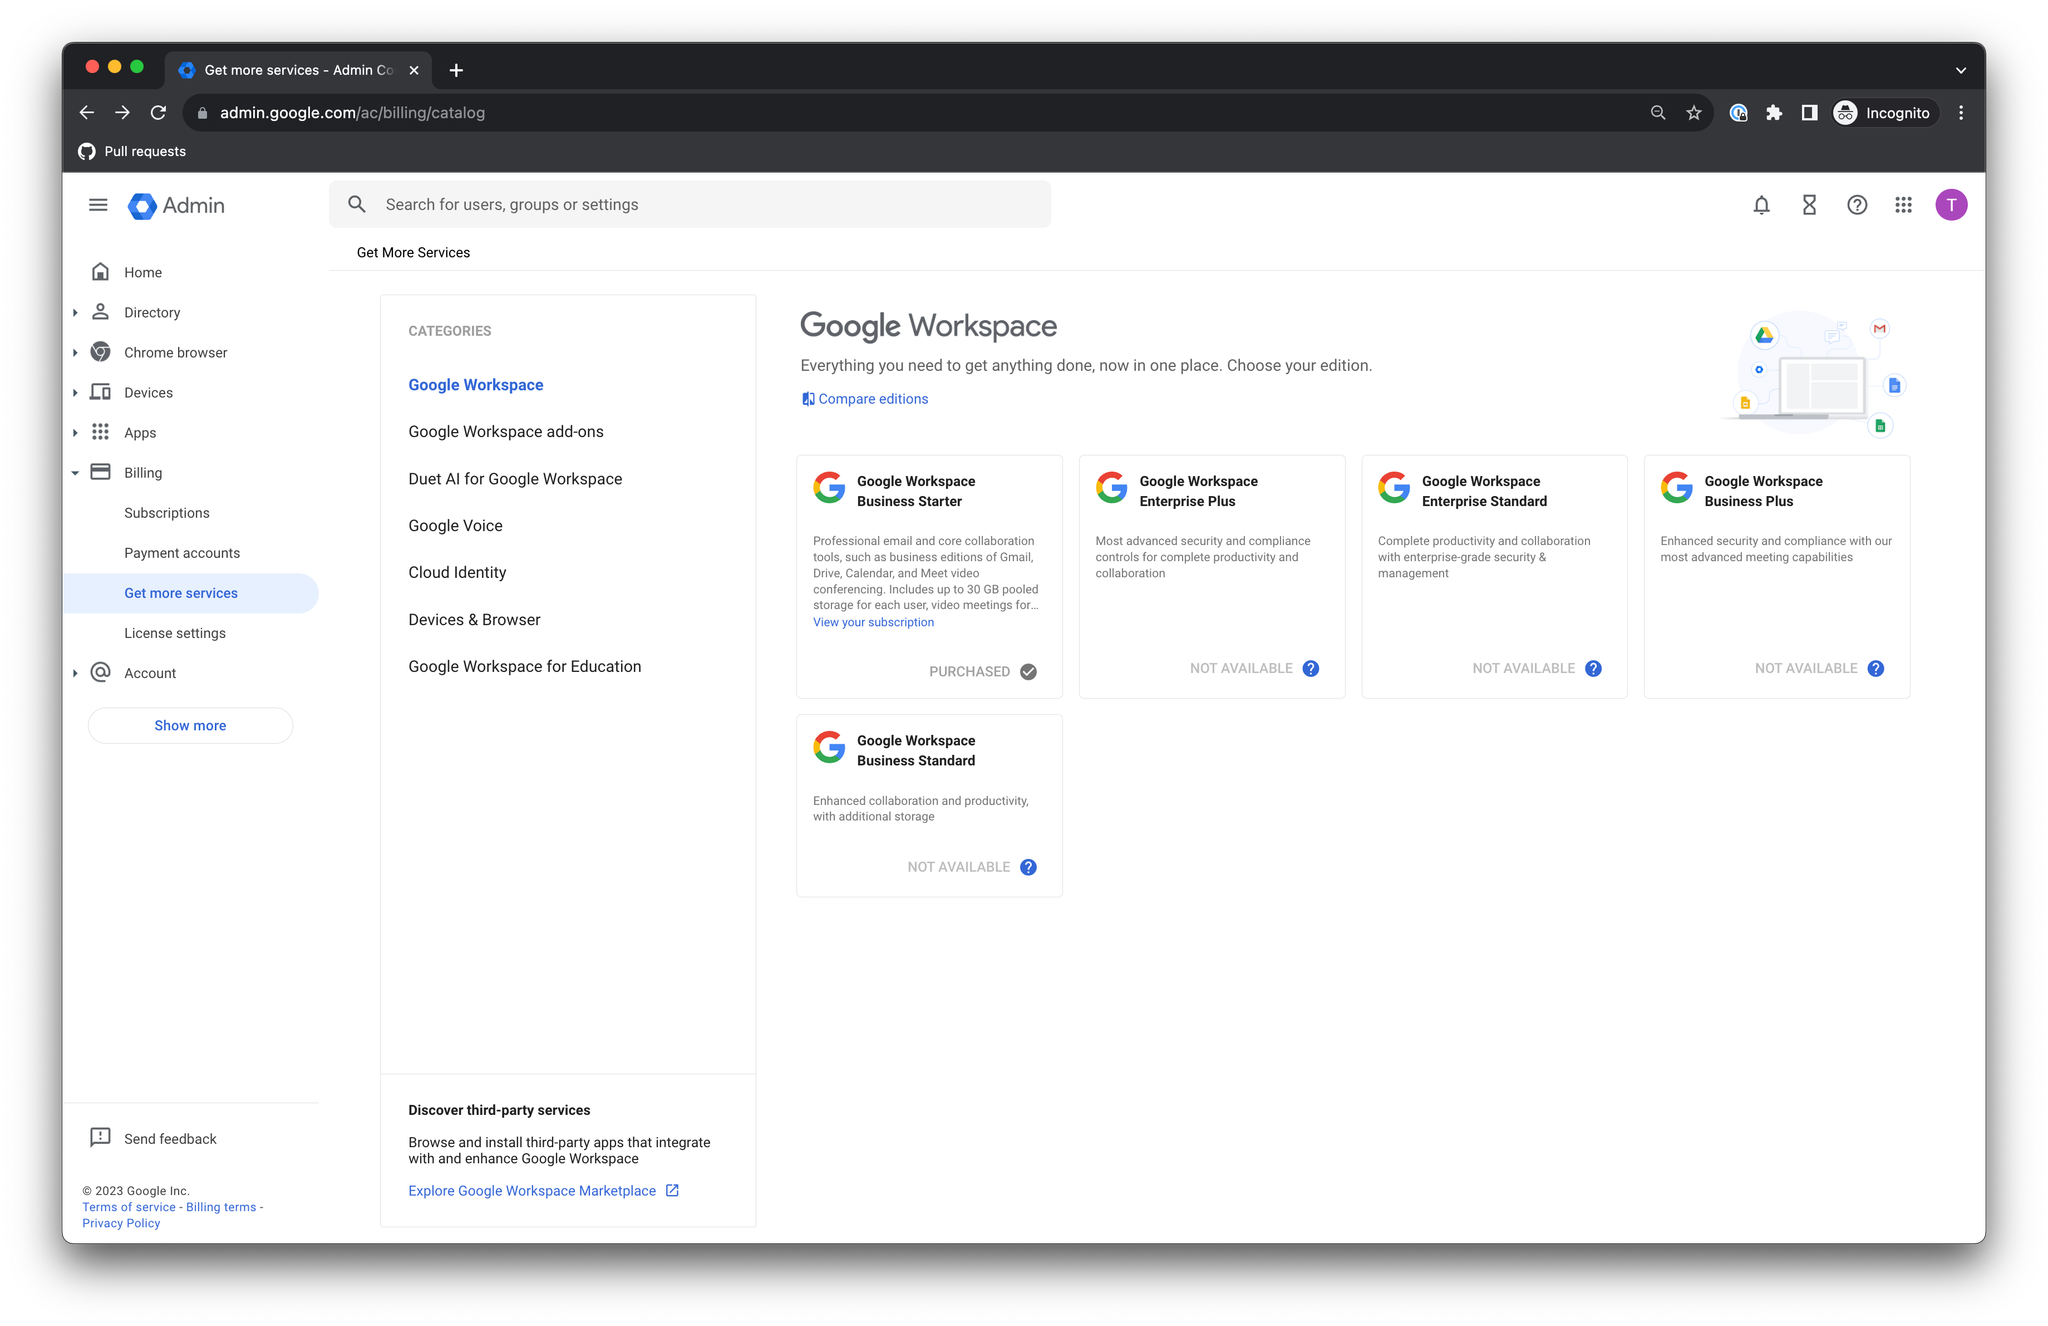
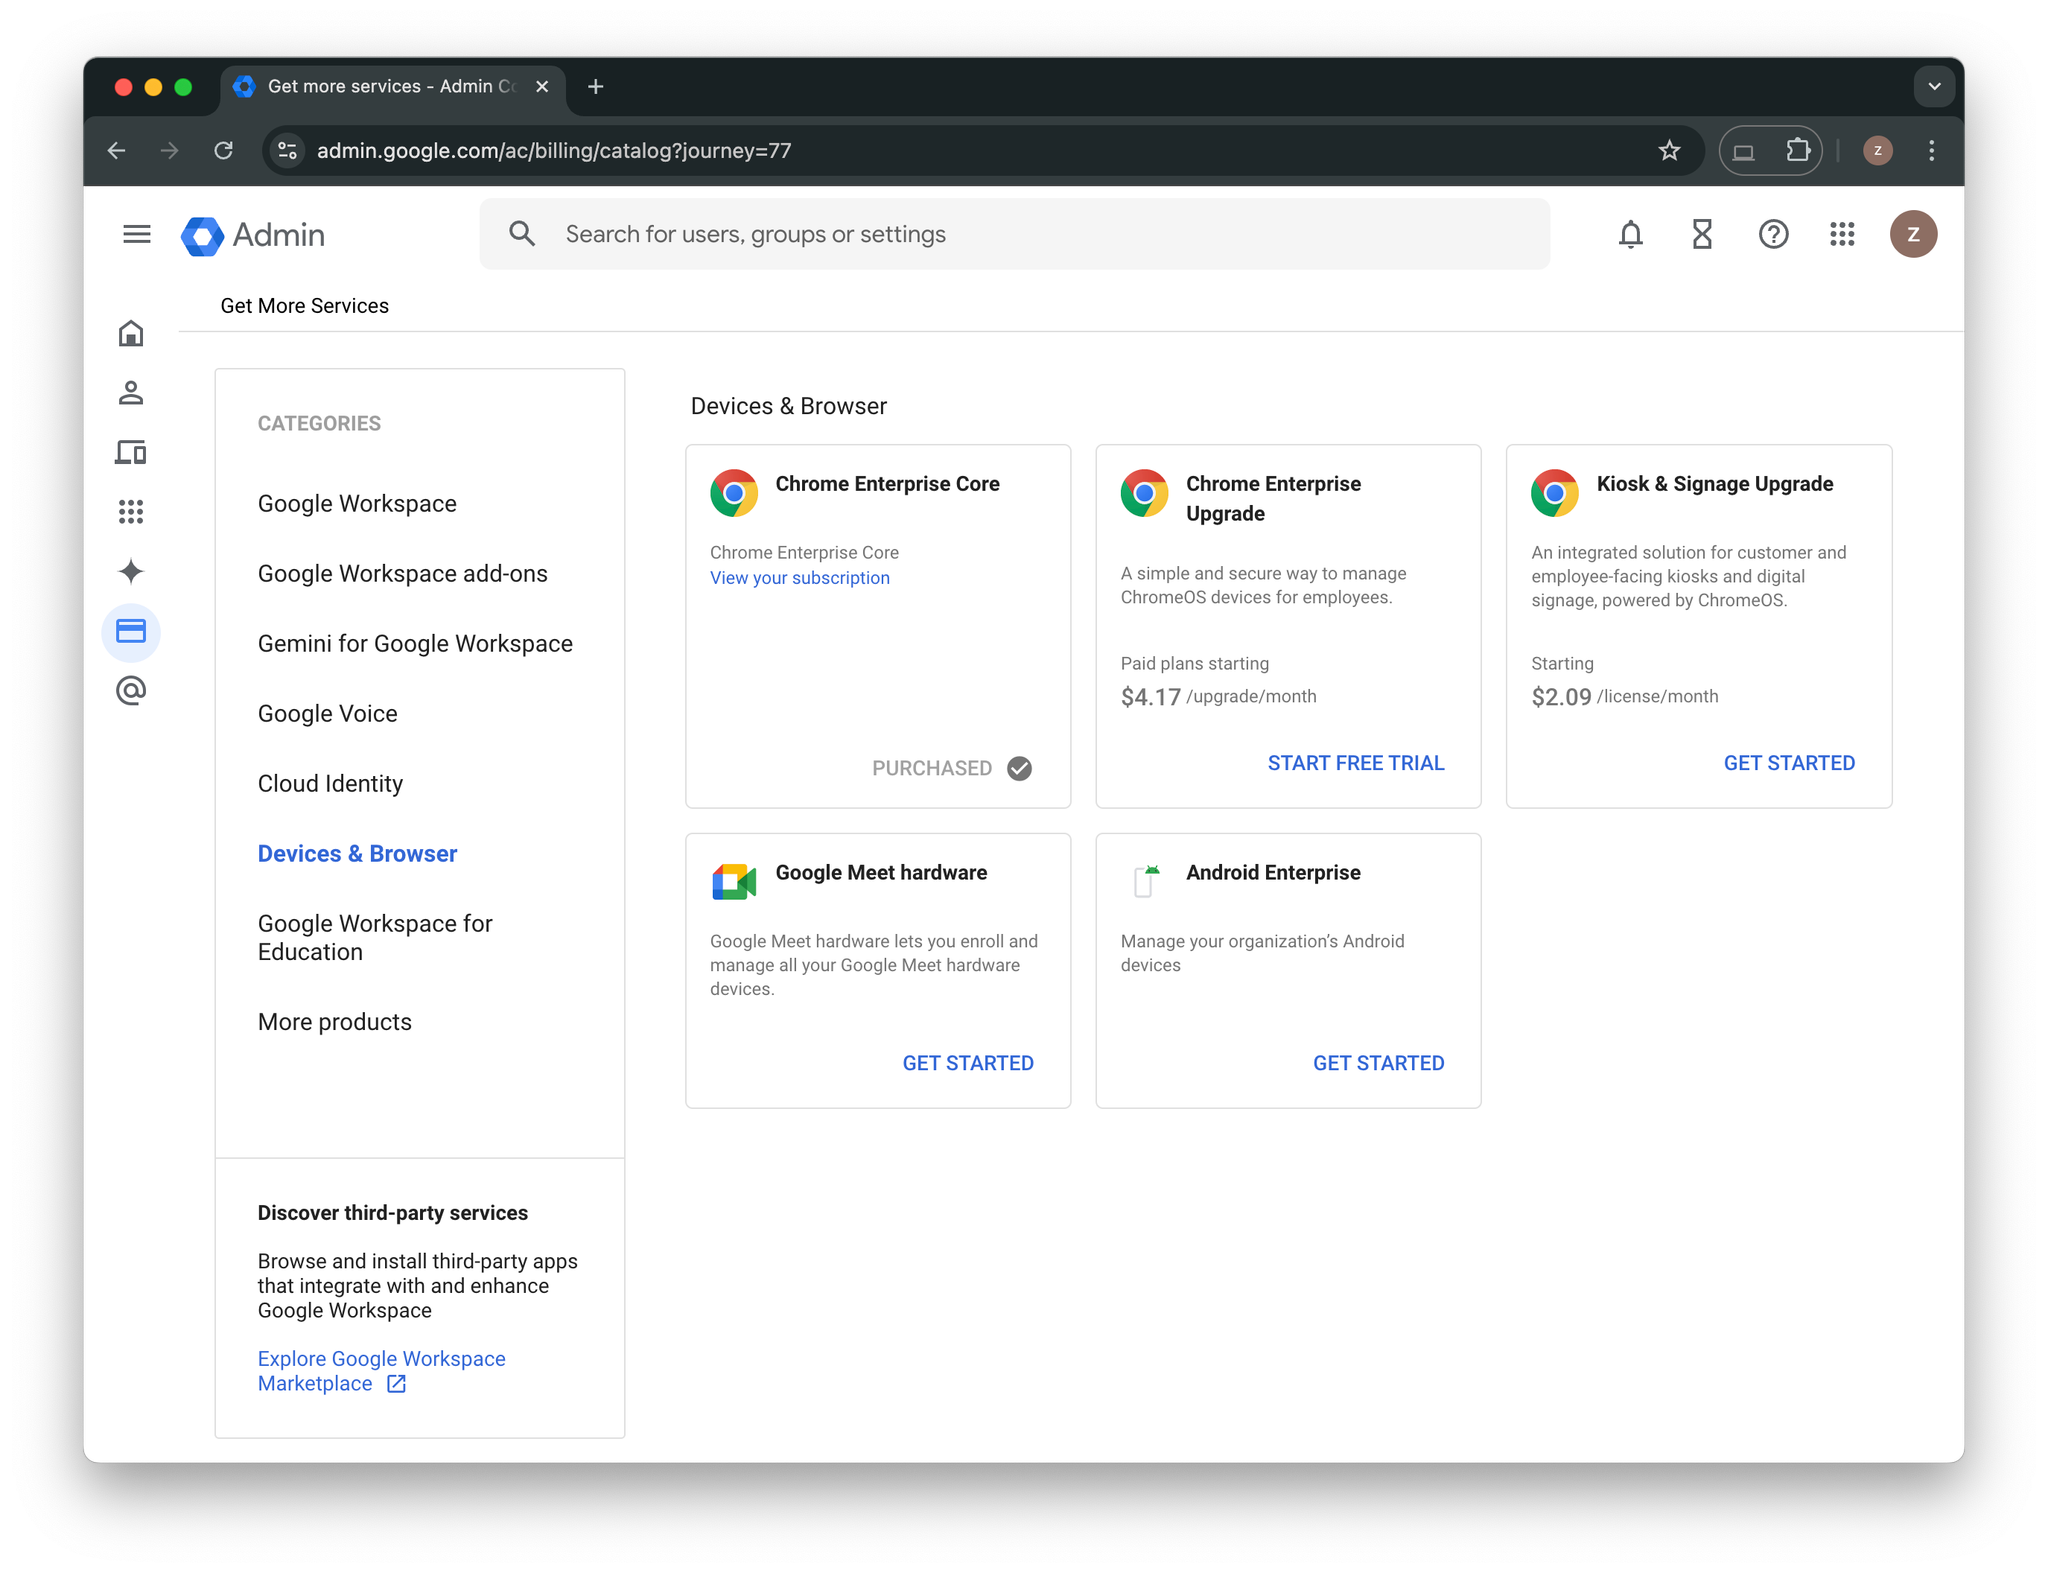
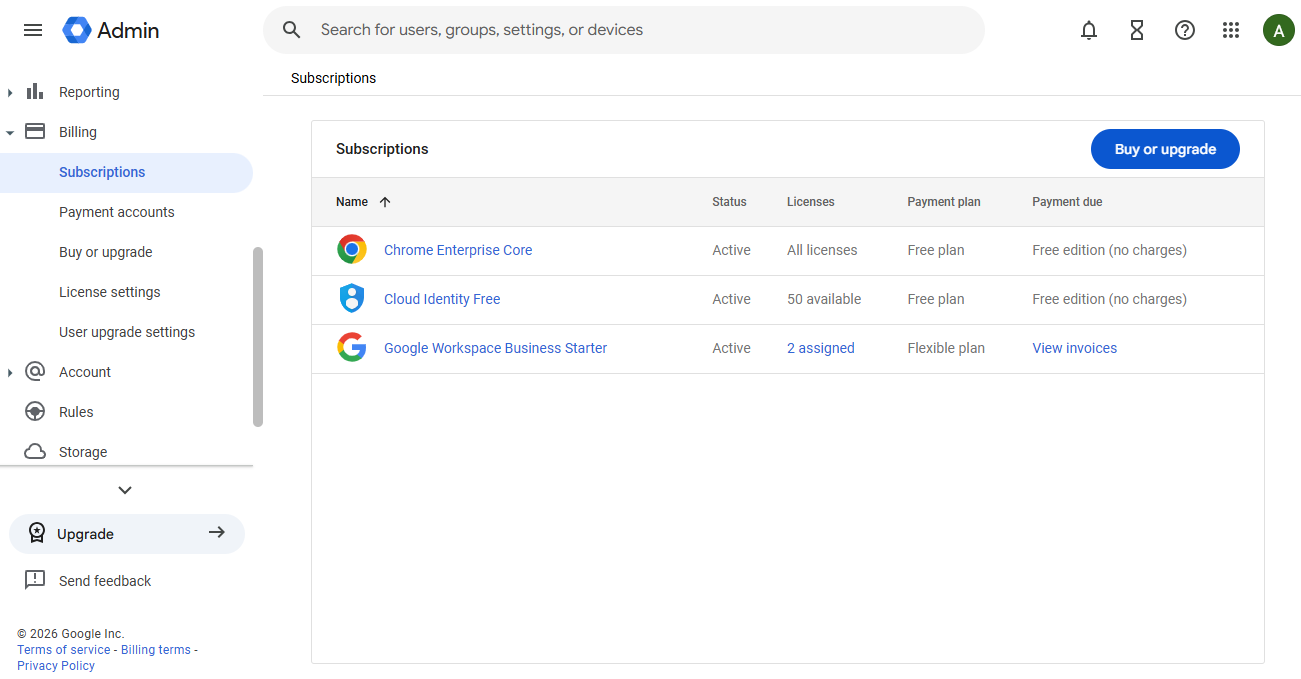
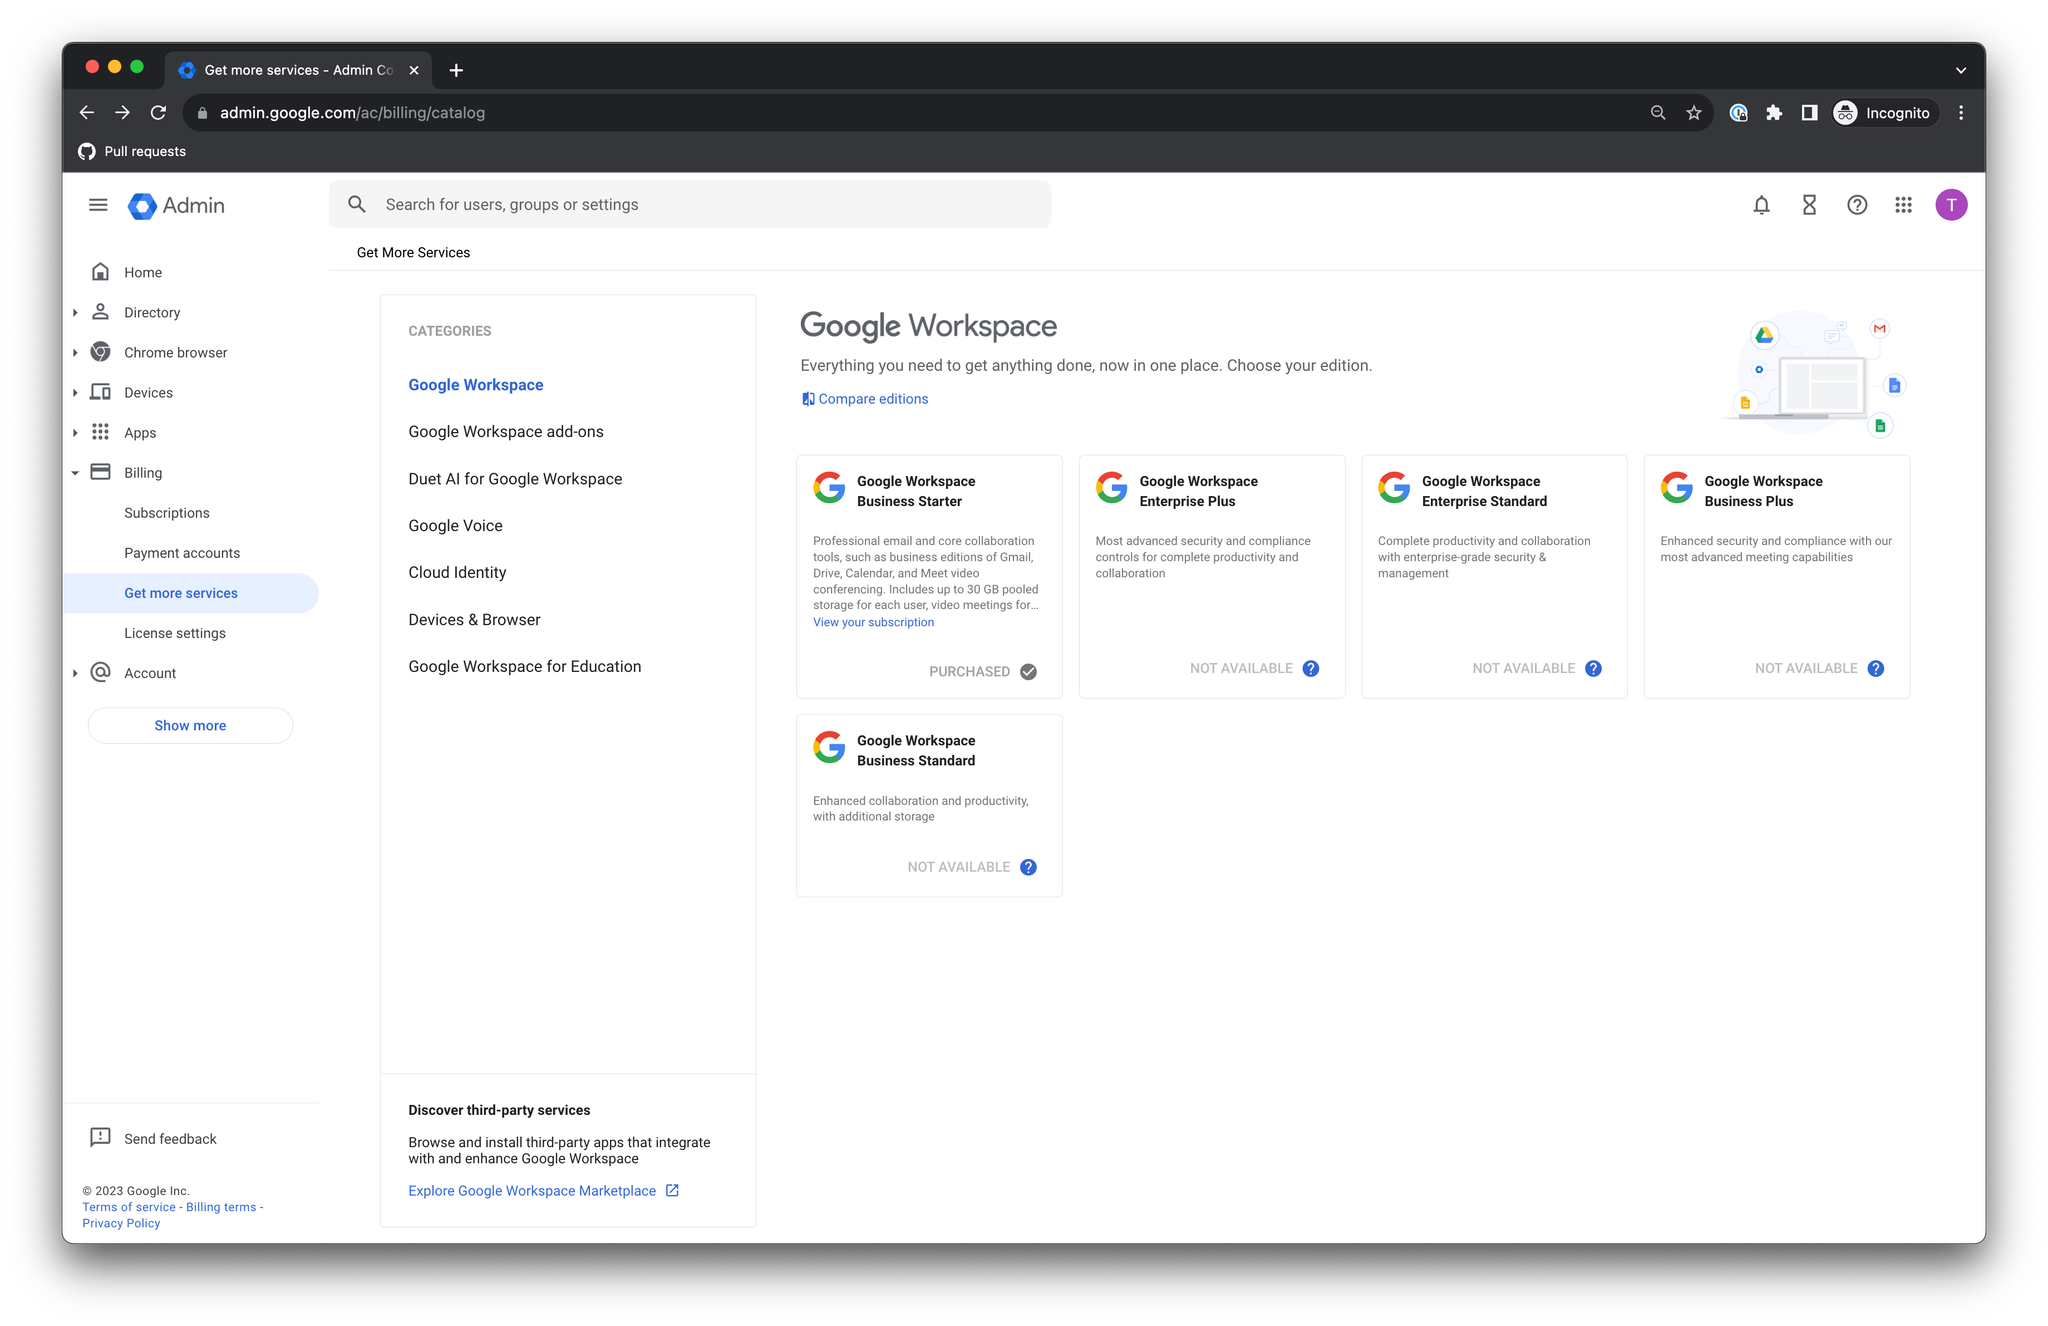
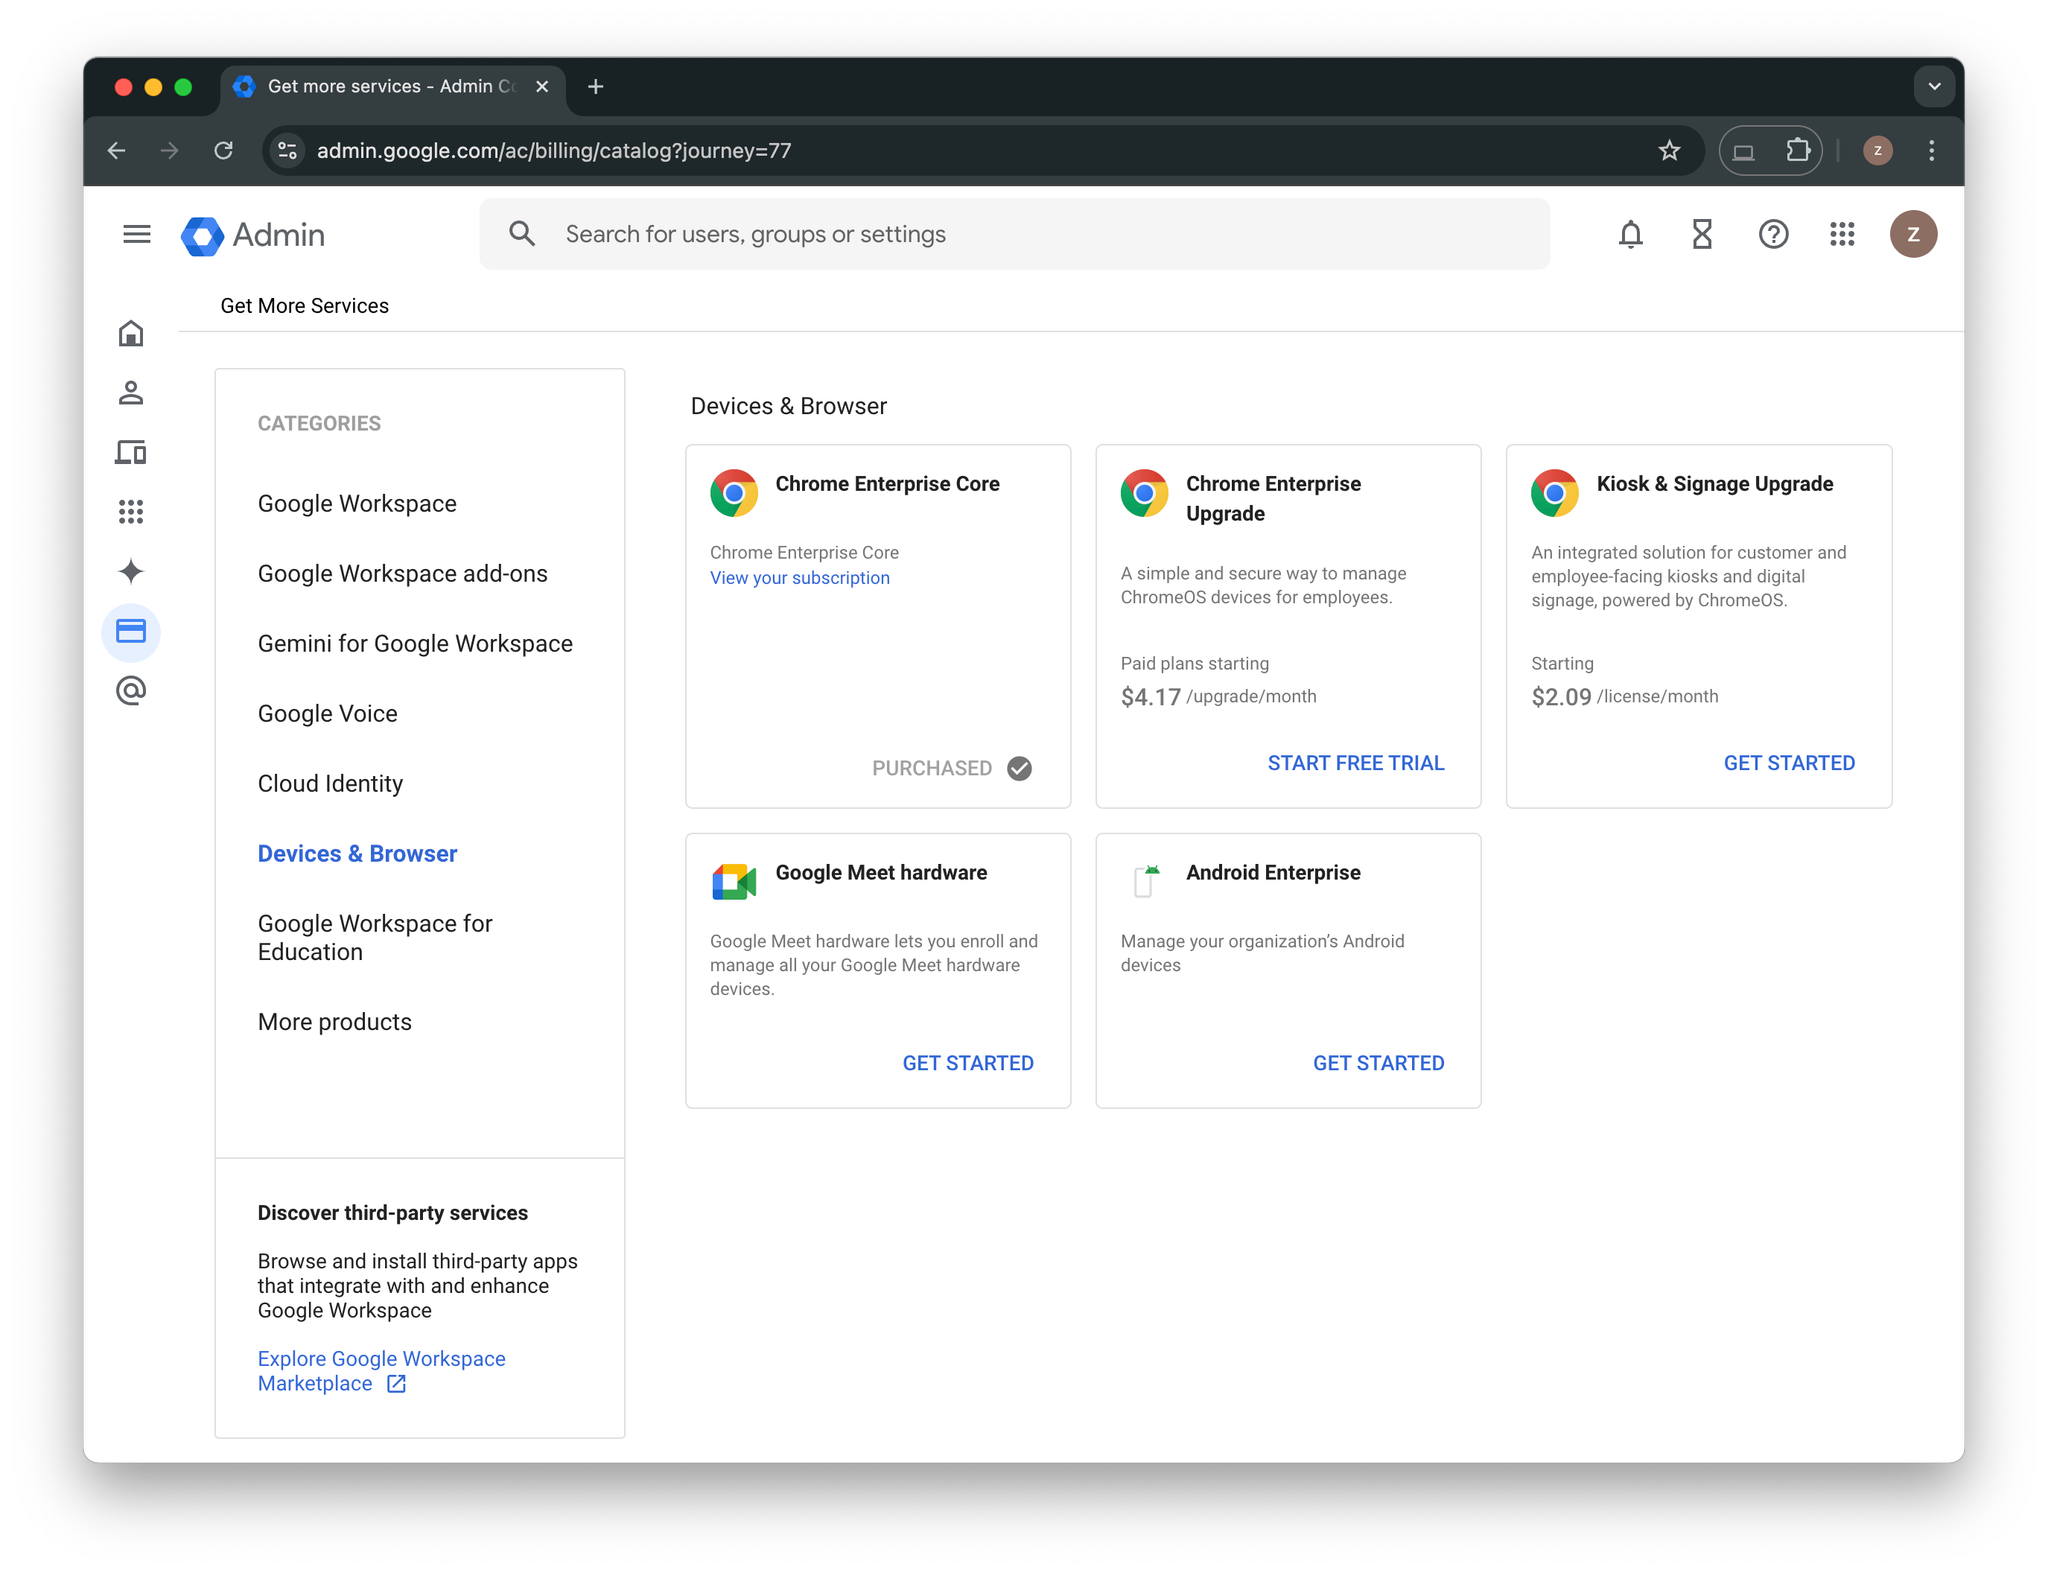
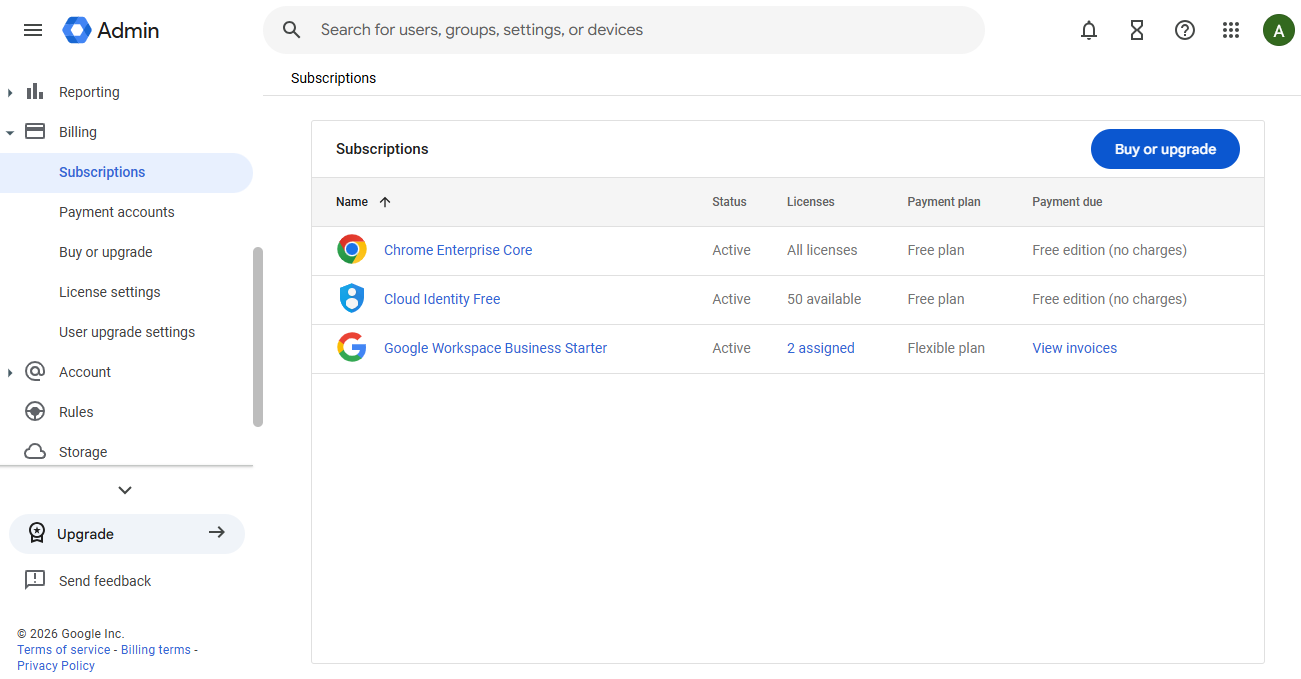
Turn on Chrome Enterprise Core before you connect. It is free, and Google does not let Zip turn it on for you, so a super admin enables it once in the Google Admin Console.
Without an active Chrome Enterprise Core subscription, Google accepts the policies Zip writes but does not apply them to browsers.
In the Zip Console, open Organization Settings → Providers and click Add.
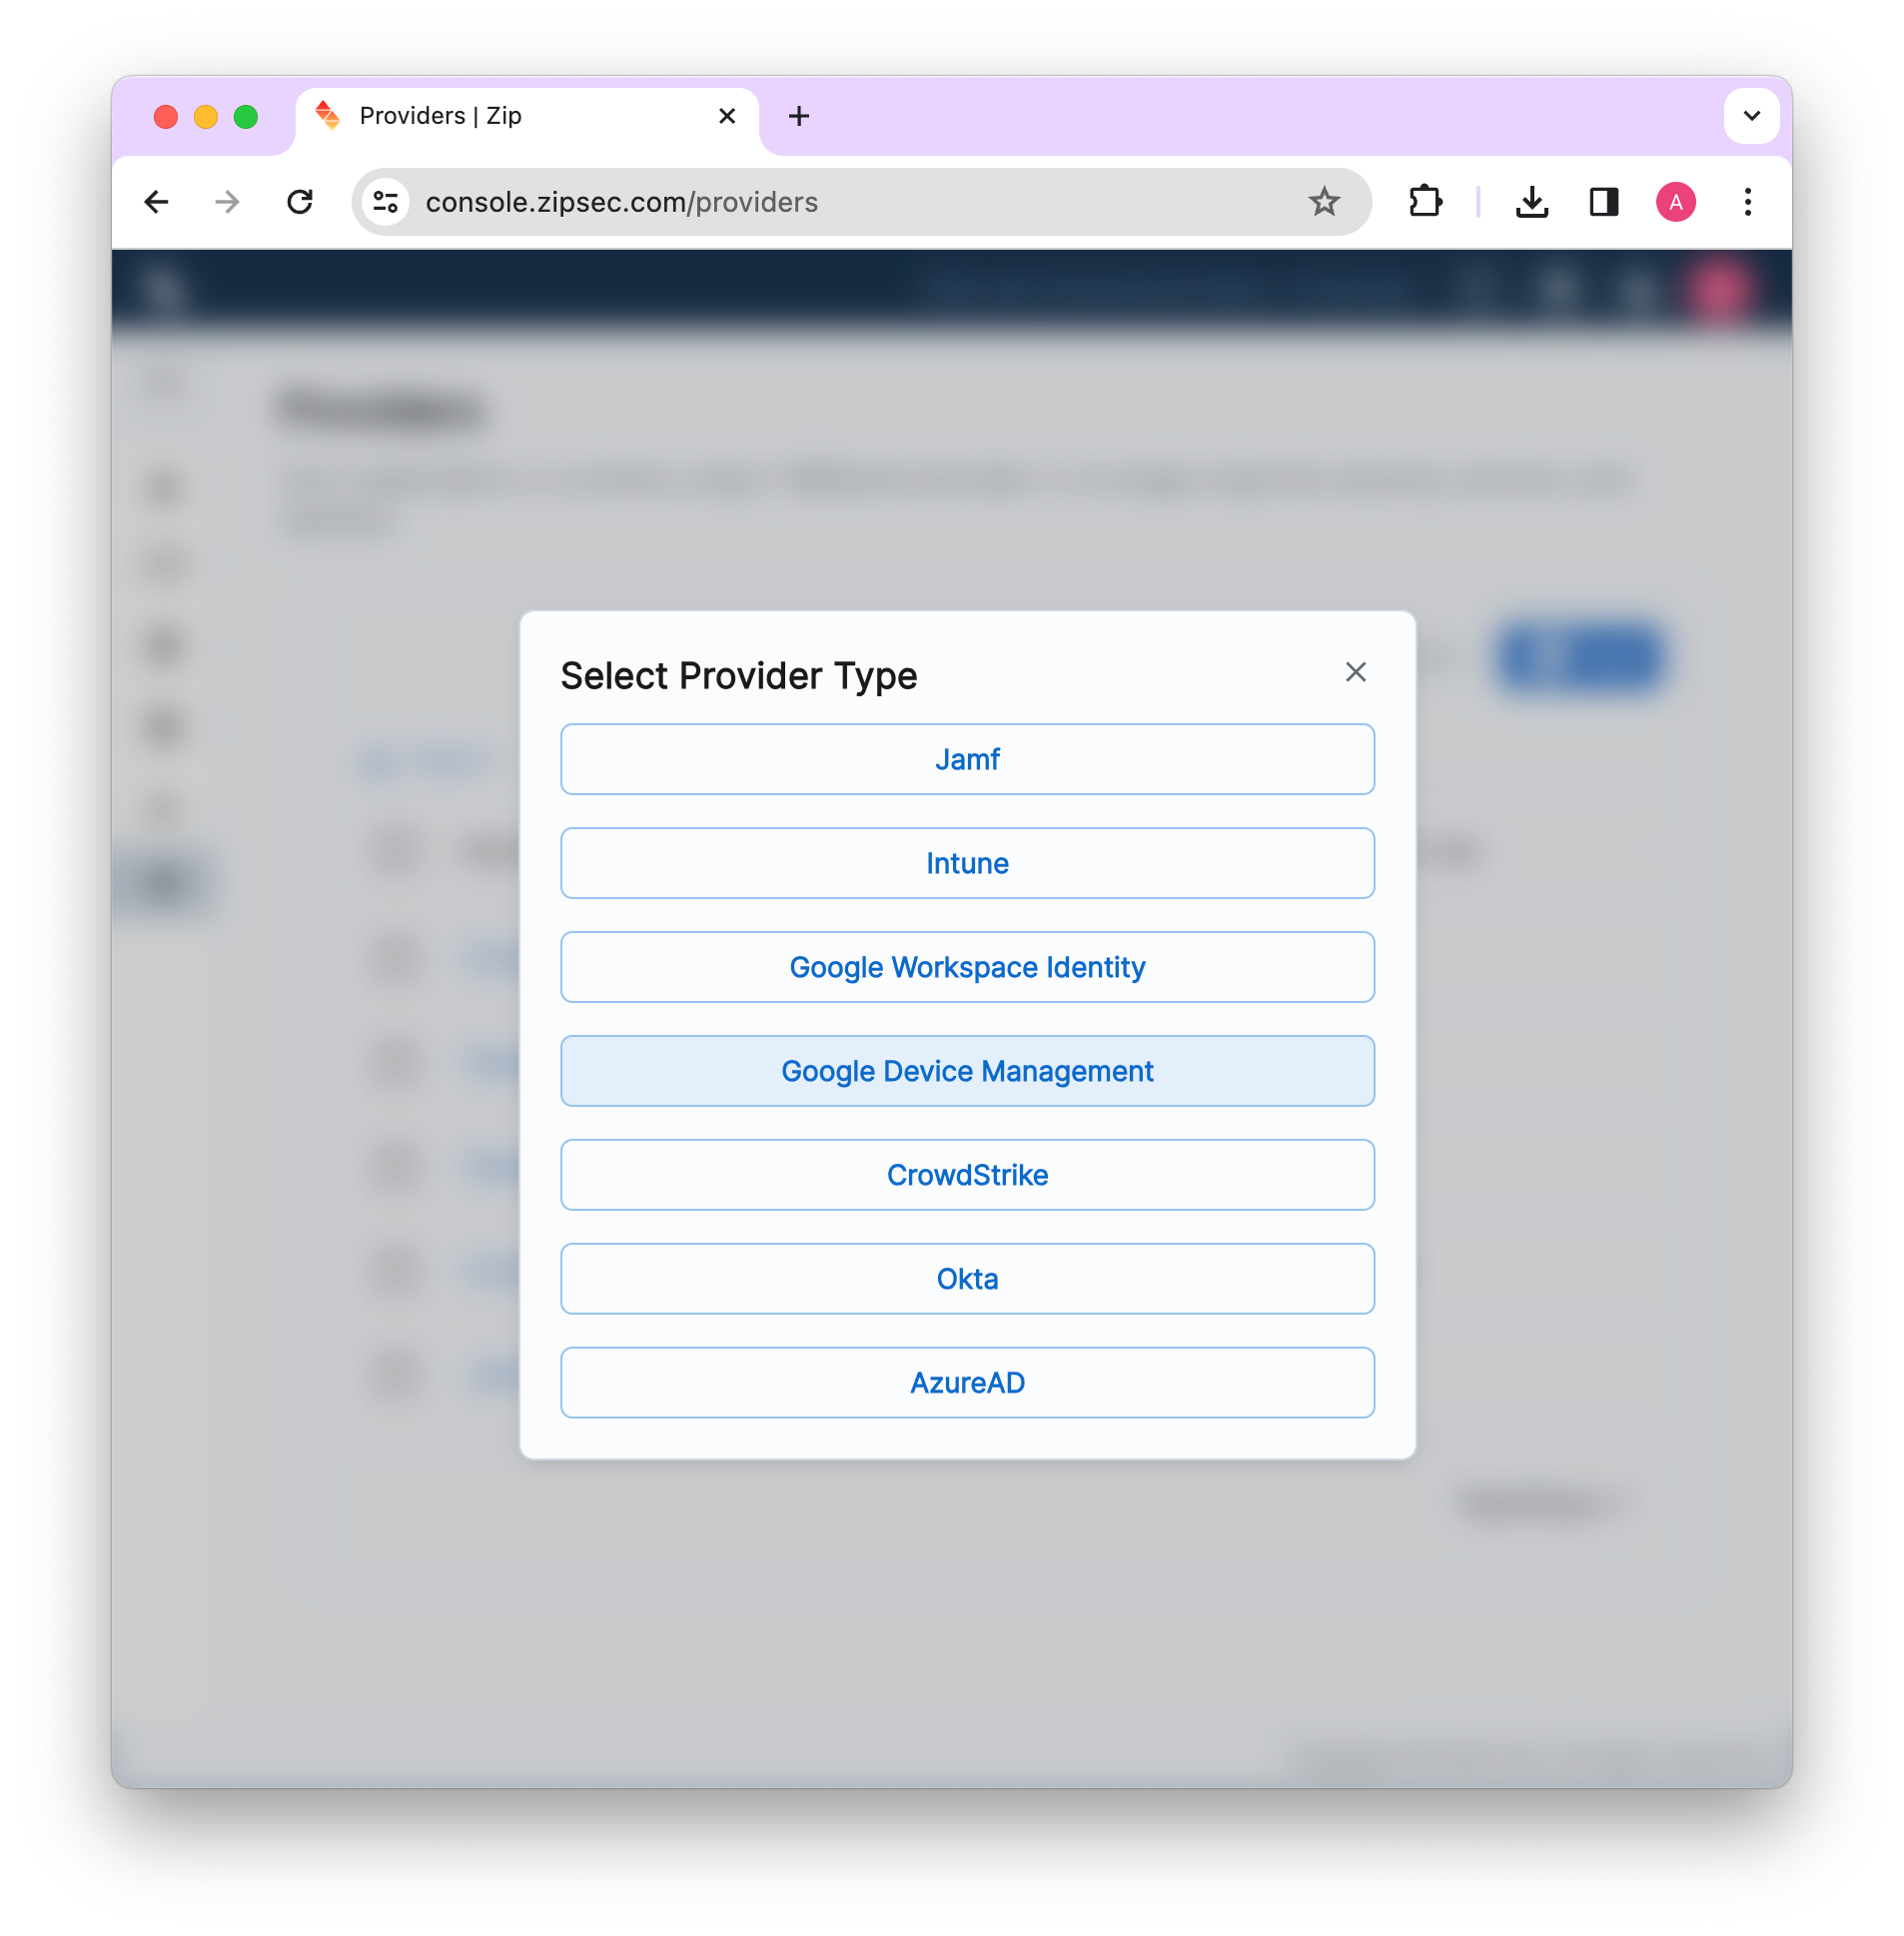
Select Google Device Management. The Quick connect tab opens.
Give the provider a name, or keep the default Google Device Management, and click Next.
Click Sign in with Google. In the Google window, sign in with your super admin account. If Google shows an account chooser, pick the super admin account for the Workspace you want Zip to manage. Review the permissions Zip requests and click Allow. If Google shows a checkbox for each permission, select all of them first.
The Google window closes and Zip shows Successfully created a connection with your tenant! Your new provider appears under Connected Providers on the Providers tab.
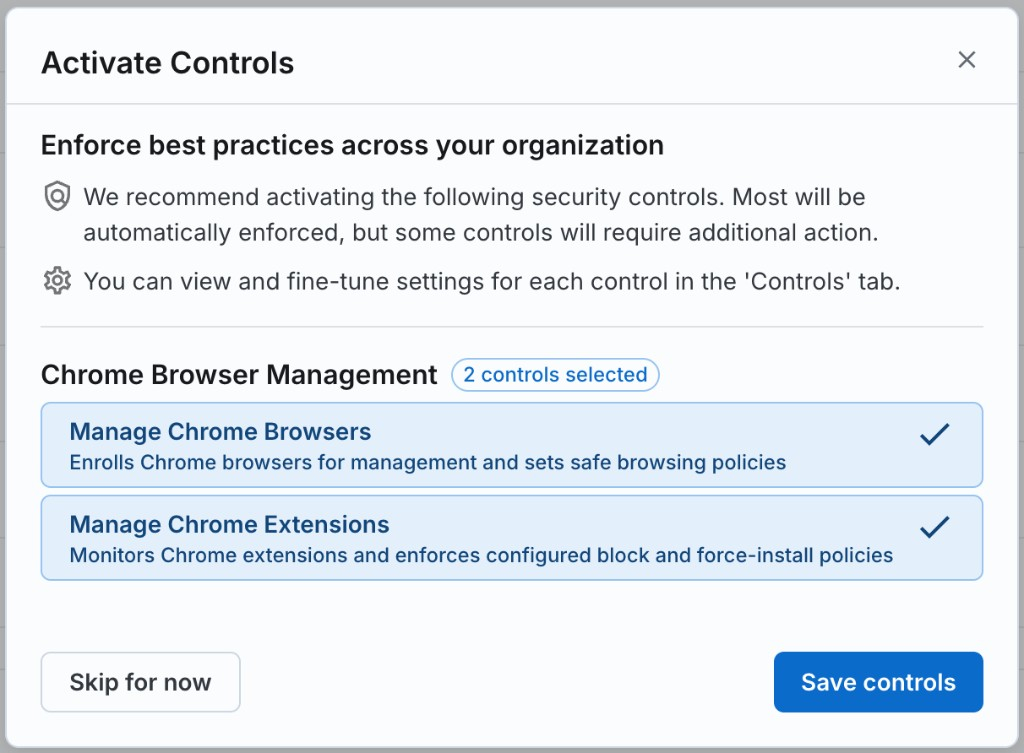
Zip then opens Activate Controls. Manage Chrome Browsers and Manage Chrome Extensions are already selected. Click Save controls. Saving turns those controls on and auto-enforces them, so Zip runs Enable Chrome Browser Reporting for you. You can stay on this page. There is no separate step on the Controls tab, and no separate Apply to Organization step.
Activate Controls, with Manage Chrome Browsers selected
Skip for now leaves the controls off. Turning them on later under Organization Settings → Enable Controls enables them without auto-enforce. Open Controls → Manage Chrome Browsers and click Apply to Organization on Enable Chrome Browser Reporting.
Save controls auto-enforces Manage Chrome Browsers, and Zip runs Enable Chrome Browser Reporting for you.
Use the steps below only when that task shows Action Required: you clicked Skip for now, you turned the control on later from Organization Settings → Enable Controls, or the control was already on and was not listed in Activate Controls.
Enable Chrome Browser Reporting
Open Controls → Manage Chrome Browsers.
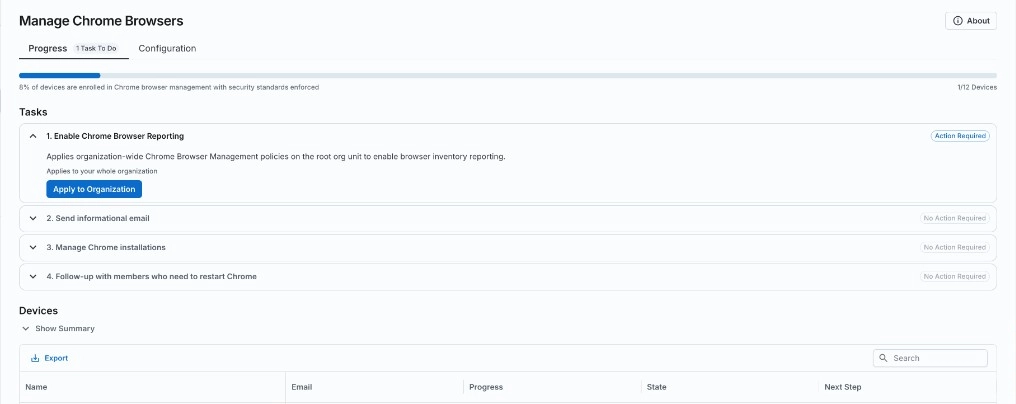
Open Enable Chrome Browser Reporting and click Apply to Organization. The task applies to your whole organization.
Enable Chrome Browser Reporting task
Confirm. Zip applies the action to every device. There is no device selection.
Confirm Apply to Organization
Zip shows that the action ran. Compliance updates over the next few hours.
Enable Chrome Browser Reporting success
The task sets three policies on the root organizational unit:
Sets the managed browser reporting upload frequency to 3 hours
It is safe to run on a Workspace you already configured by hand. If Endpoint Verification is already force-installed or pinned to the toolbar, Zip keeps your existing setting.
If Activate Controls does not appear, or Manage Chrome Browsers or Manage Chrome Extensions is not listed, that control is already on. Open the Controls tab and select the control to review its enforcement status. Auto Enforced means no further action is required.
If Enable Chrome Browser Reporting shows Action Required, click Apply to Organization. Zip also leaves the control out of Activate Controls when it was already auto-enforcing other tasks, including after an earlier service account connection. Check the control, and run the task when it shows Action Required. The provider’s status shows in the Health column. The first sync can take a few minutes.
Enroll browsers
Open Controls → Manage Chrome Browsers and enroll browsers on your managed devices.
Troubleshooting
If the connection fails, make sure you signed in with a super admin account for the right Workspace and allowed every permission, then try again.
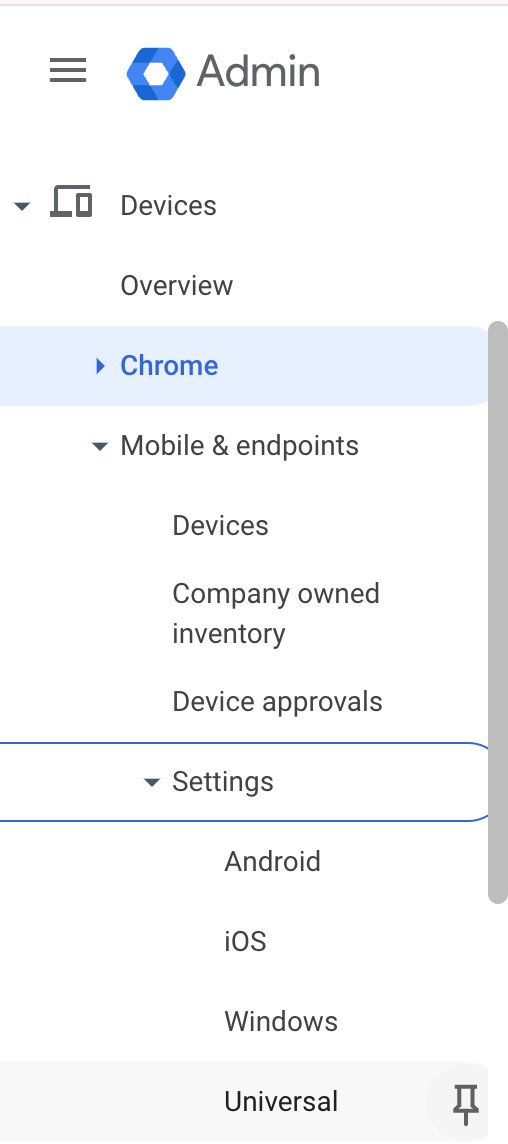
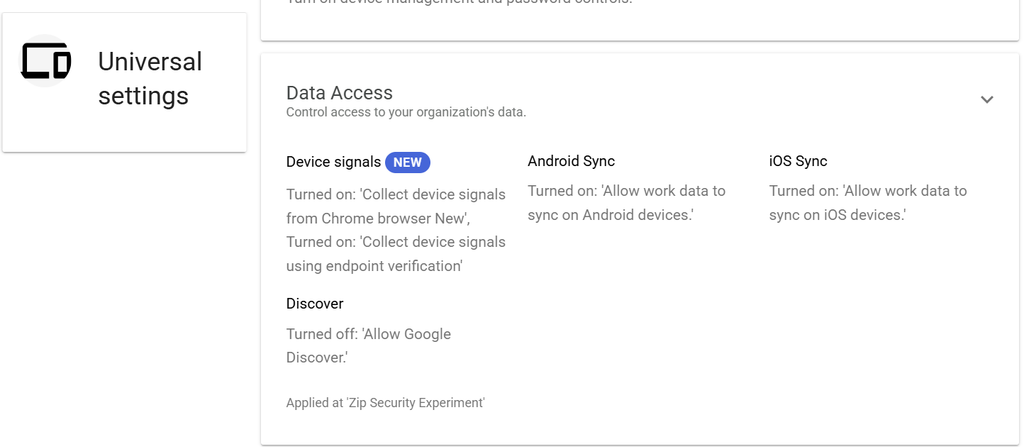
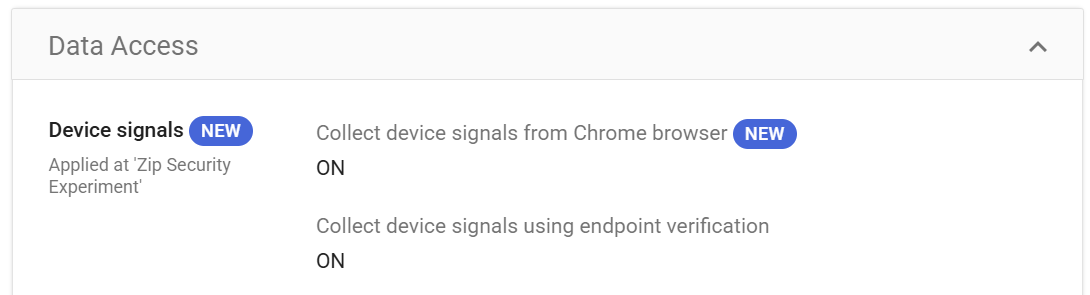
If managed browsers do not appear in Zip, check Devices → Mobile & endpoints → Settings → Universal → Data access → Device signals and confirm both Collect device signals from Chrome Browser and Collect device signals using Endpoint Verification are both On.
For anything else, email success@zipsec.com or message us in your shared Slack channel.
Connecting with a Service Account (Legacy Approach)
Quick connect is the recommended way to connect. You can also connect with a Google Cloud service account and domain-wide delegation from the Advanced setup tab. A service account connection covers device inventory, but it cannot run Enable Chrome Browser Reporting, so you would configure those Chrome policies in Google yourself.
1. Setting up the Google Cloud Console
If you already set up a project when setting up the Google Workspace Identity integration, then you can proceed to section 2.
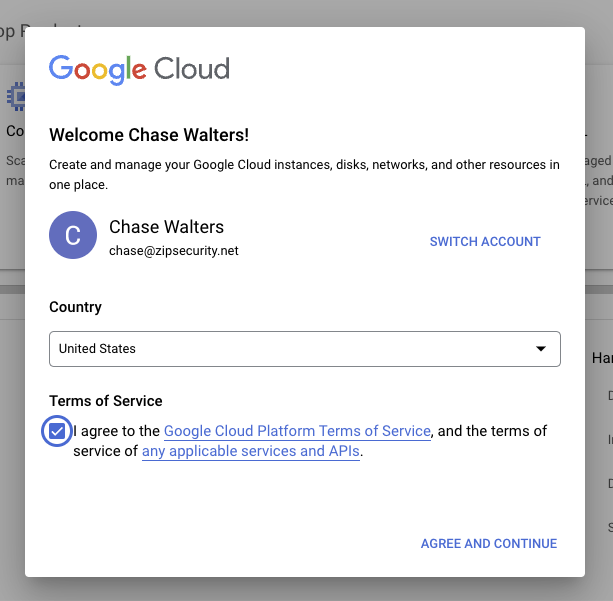
Navigate to https://console.cloud.google.com. If you’ve never logged in before, you will see a pop-up asking you to agree to the terms of service. You can click “agree and continue.”
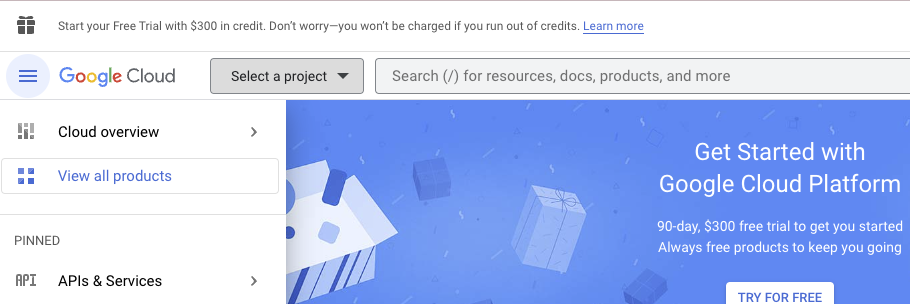
2. Next, select the “Select a project” dropdown.
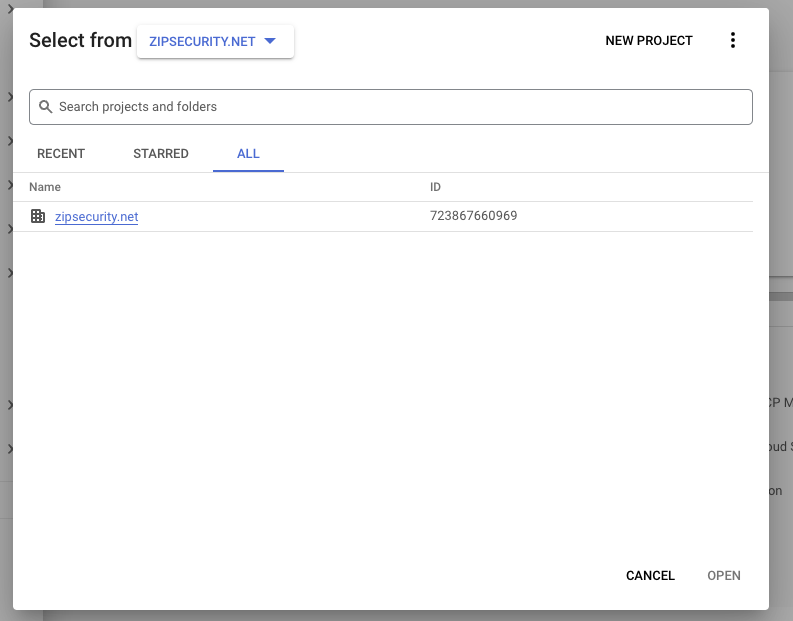
3. Change the selector to your organization from “no organization”. Our sample organization is zipsecurity.net. Your organization will likely be named after your primary domain. Once you select your organization, click the “NEW PROJECT” button. You may have to refresh the page to get the drop-down.
⚠️
You may need to complete the initial steps of the Google Cloud Organization setup process (Dashboard → Left side menu → IAM & Admin → Identity & Organization) for the Workspace → Cloud organization to be created. Completing step 1, “Enable Cloud Identity and create an organization” should be sufficient.
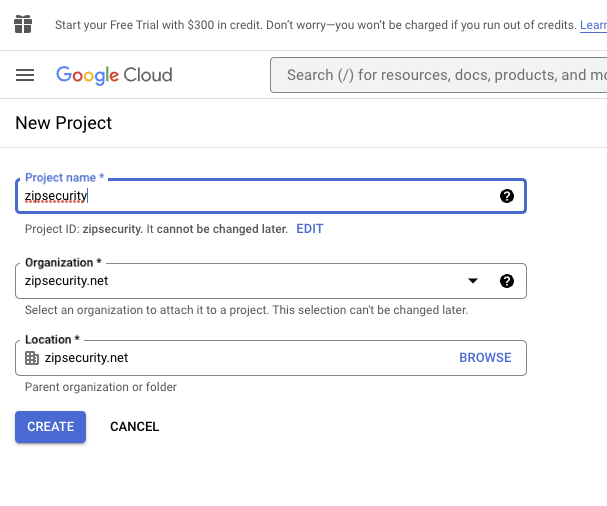
You will be taken to the below screen. All you should have to fill out is the “project name” field. Name the project “zipsecurity” and then press CREATE.
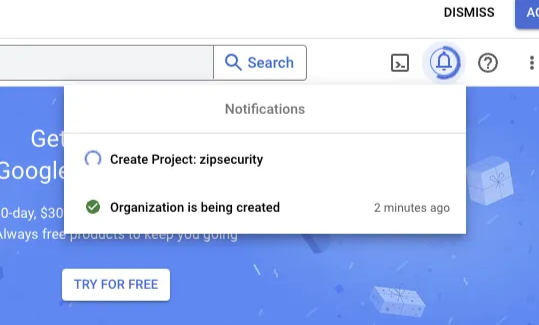
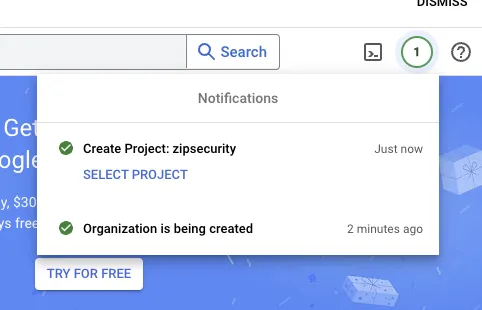
Once you create the project, you should see the following loading screens. Once the project is created, select “SELECT PROJECT.”
2. Enabling APIs
Navigate to https://console.cloud.google.com. In the drop-down on the top left of the screen, navigate to the project that you created in part one.
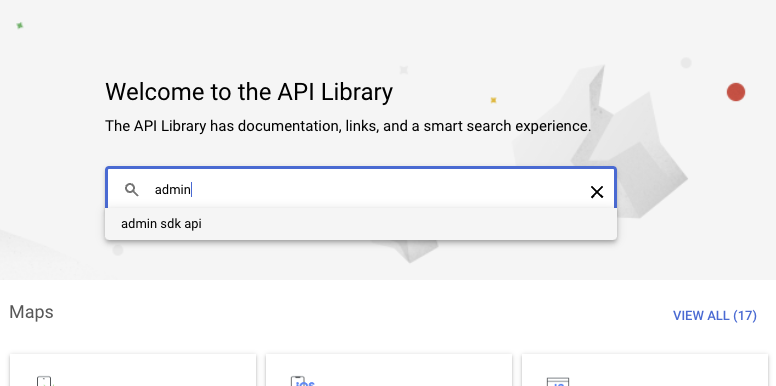
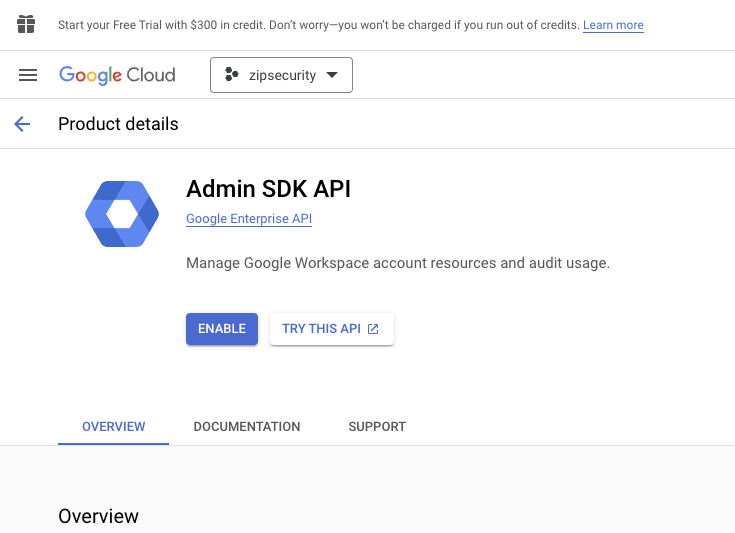
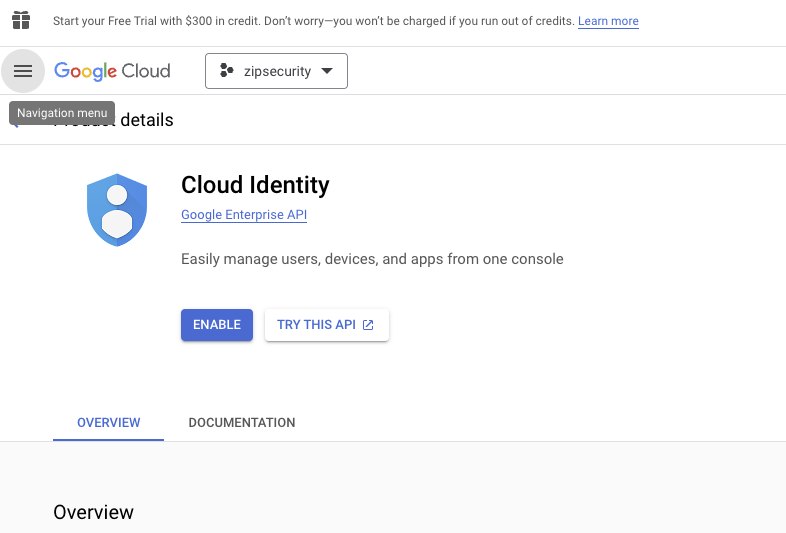
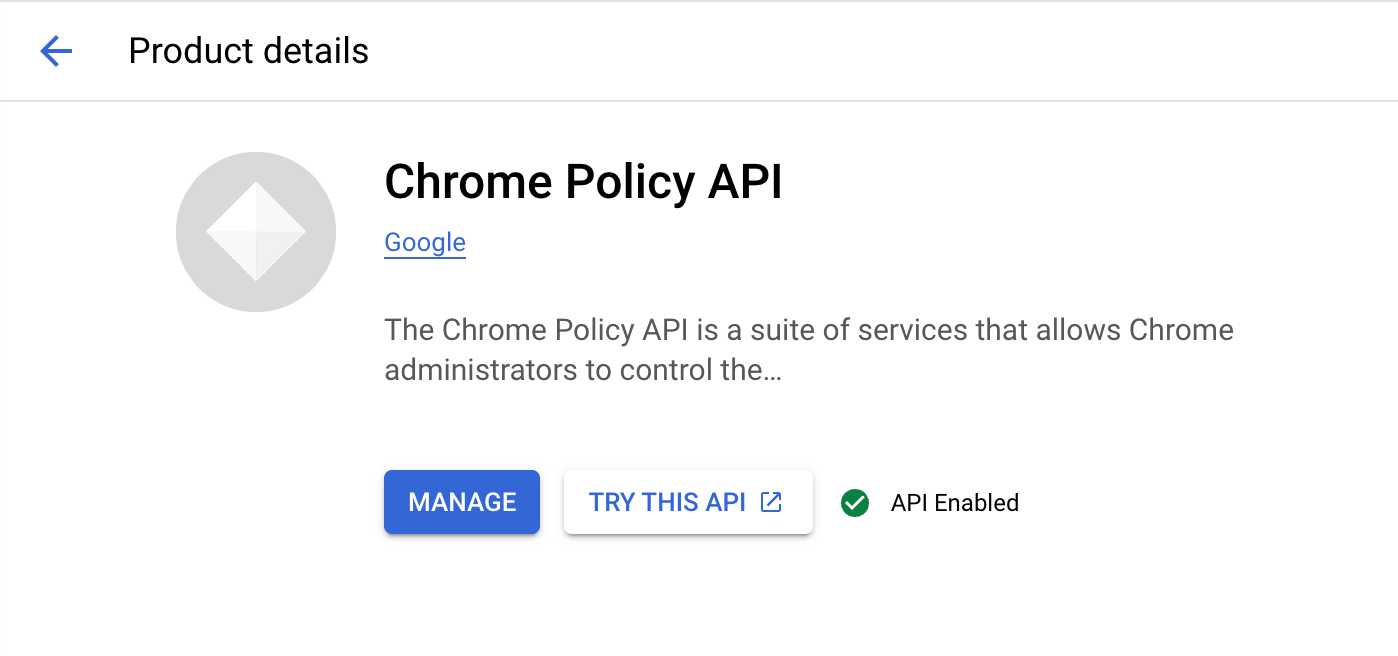
Next, you are going to enable a collection of Google APIs Zip will use to manage the Google integration. Navigate to the four APIs linked below, clicking the blue “Enable” button in each one.
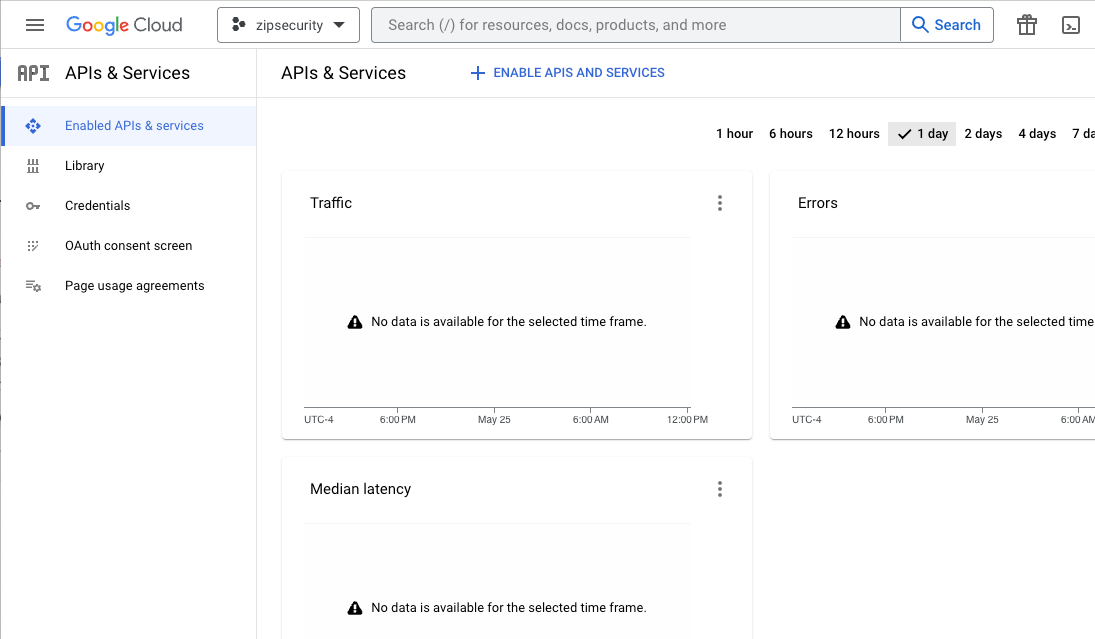
You can also search for these individually by navigating in the left hand sidebar, clicking “APIs & Services”, then “Enabled APIs & services.” On the new screen, select the blue “+ ENABLE APIs & SERVICES” button under the search bar.
The APIs to enable look like this:
3. Creating Service Accounts
Now that you have created a project and enabled the APIs, you can move on to creating a service account.
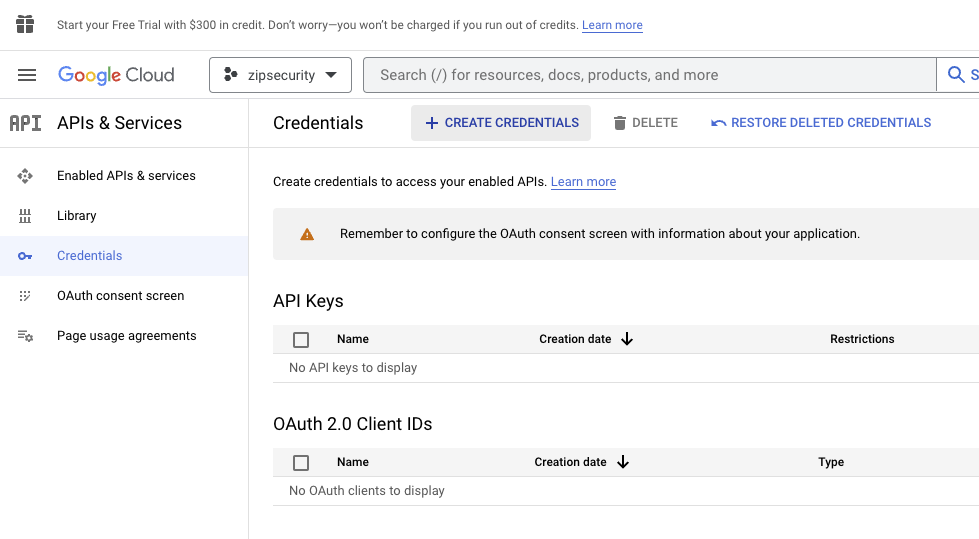
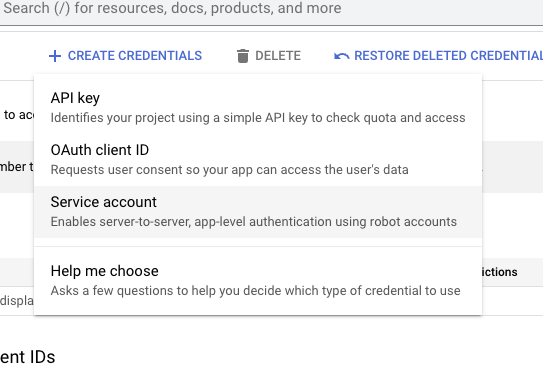
Create a service account by navigating to “Credentials” in the left-hand sidebar and then clicking the “CREATE CREDENTIALS” button, selecting the “Service account” option
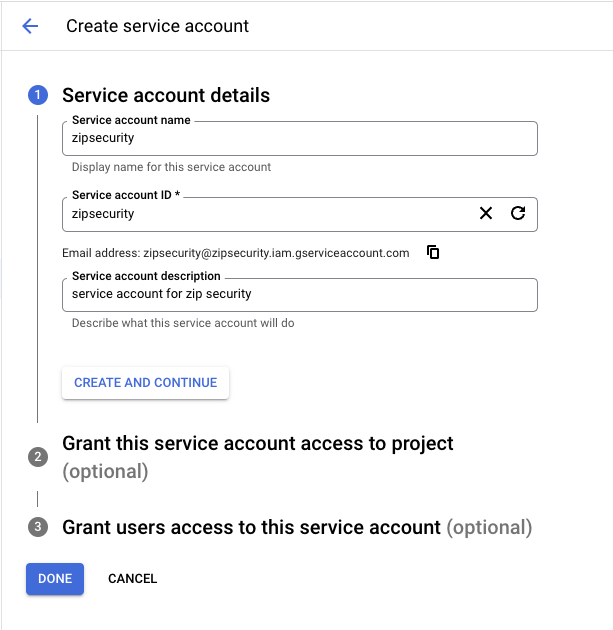
You will be taken to a screen where you can name and configure the service account. Name the service account “Zip Security Device Management” and add an optional description (everything else should auto-fill) and press “Create and continue”
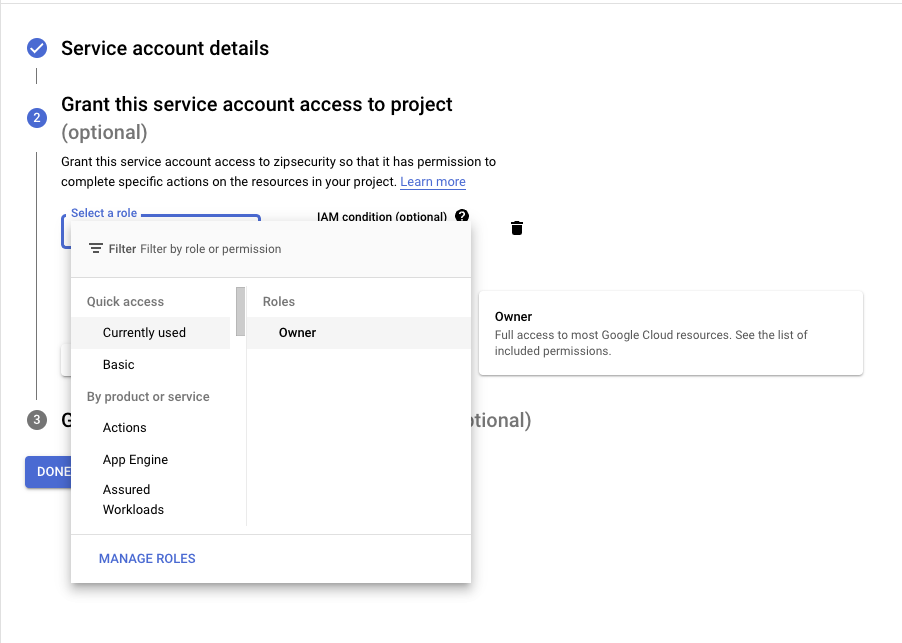
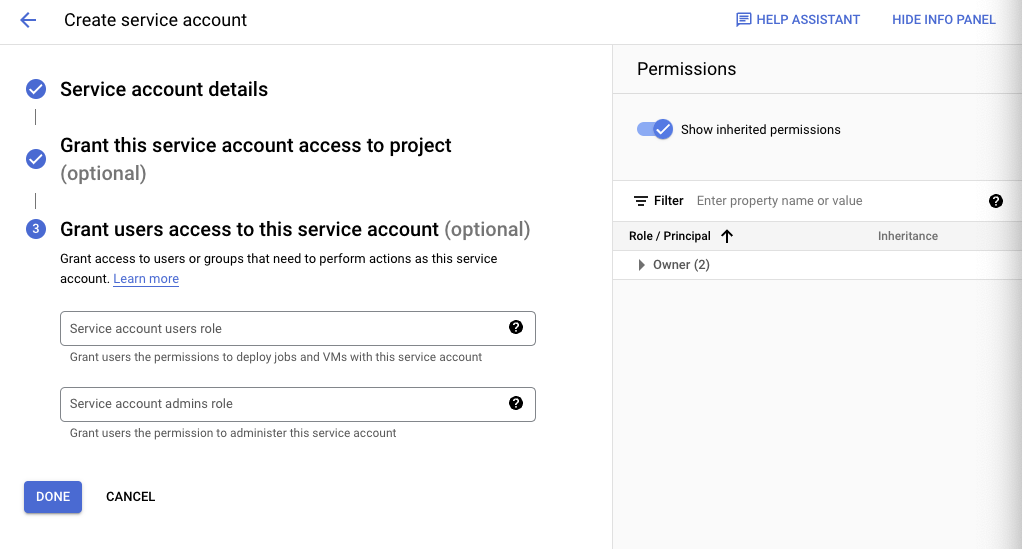
Grant the service account “Owner” on the project and then select “Continue”
You can skip the last prompt — we don’t need to configure the optional attributes. Select “DONE”
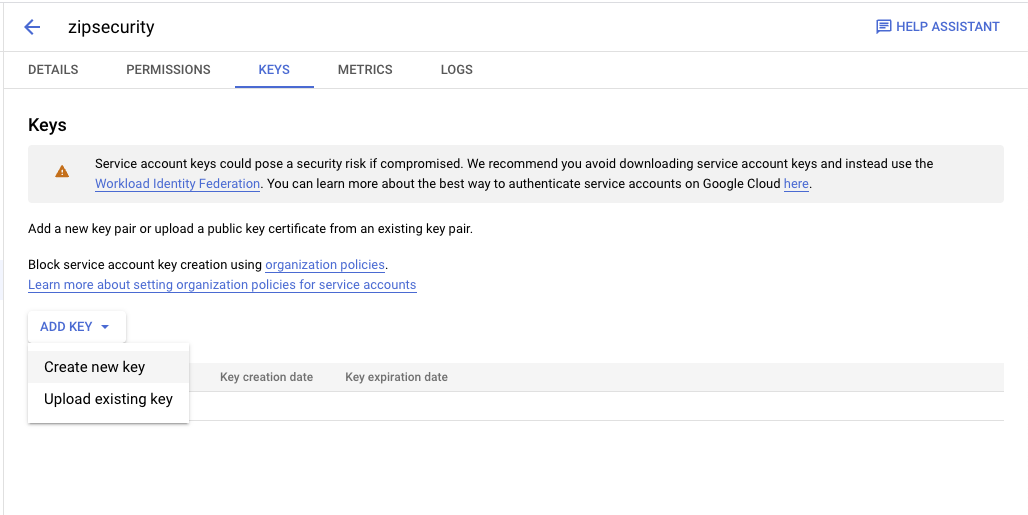
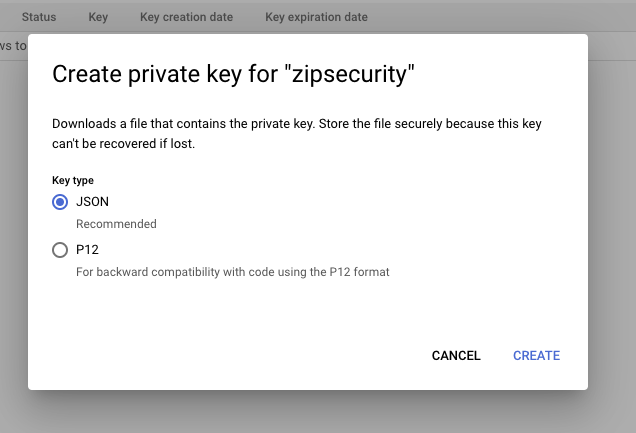
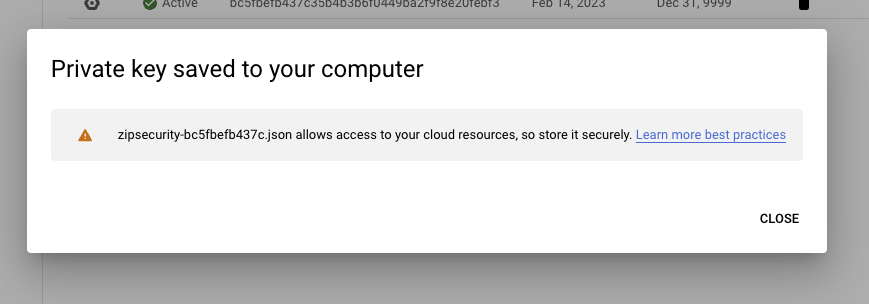
You should now see the service account is active. Click on the service account, then navigate to the “Keys” tab. Click “Add Key” → “Create New Key” to make a new credential and export that credential as a JSON. You will need the exported file again in step #4. You should see the following screens
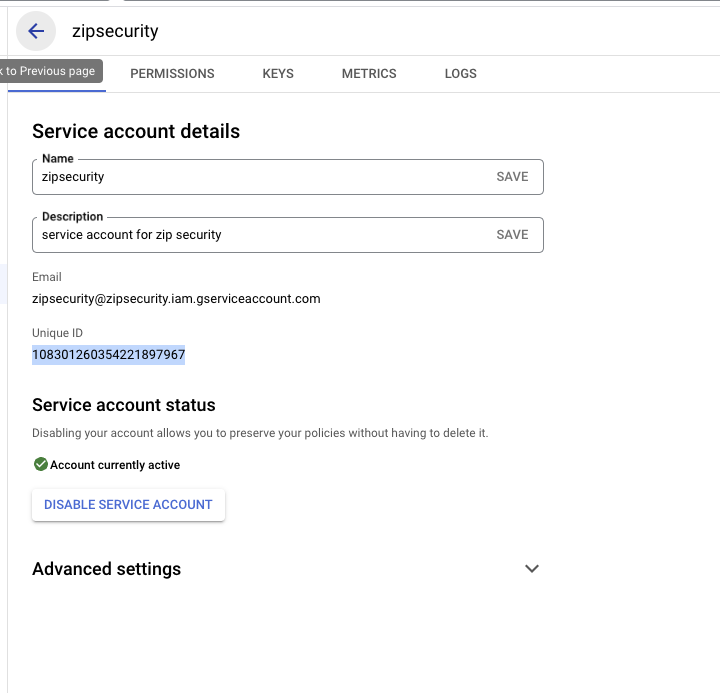
Finally, navigate back to to “Details” tab. Copy the Unique ID field into your clipboard for the next step.
4. Granting permissions to the Zip Service Account
Almost there! Now we have to grant the service account access to certain scopes.
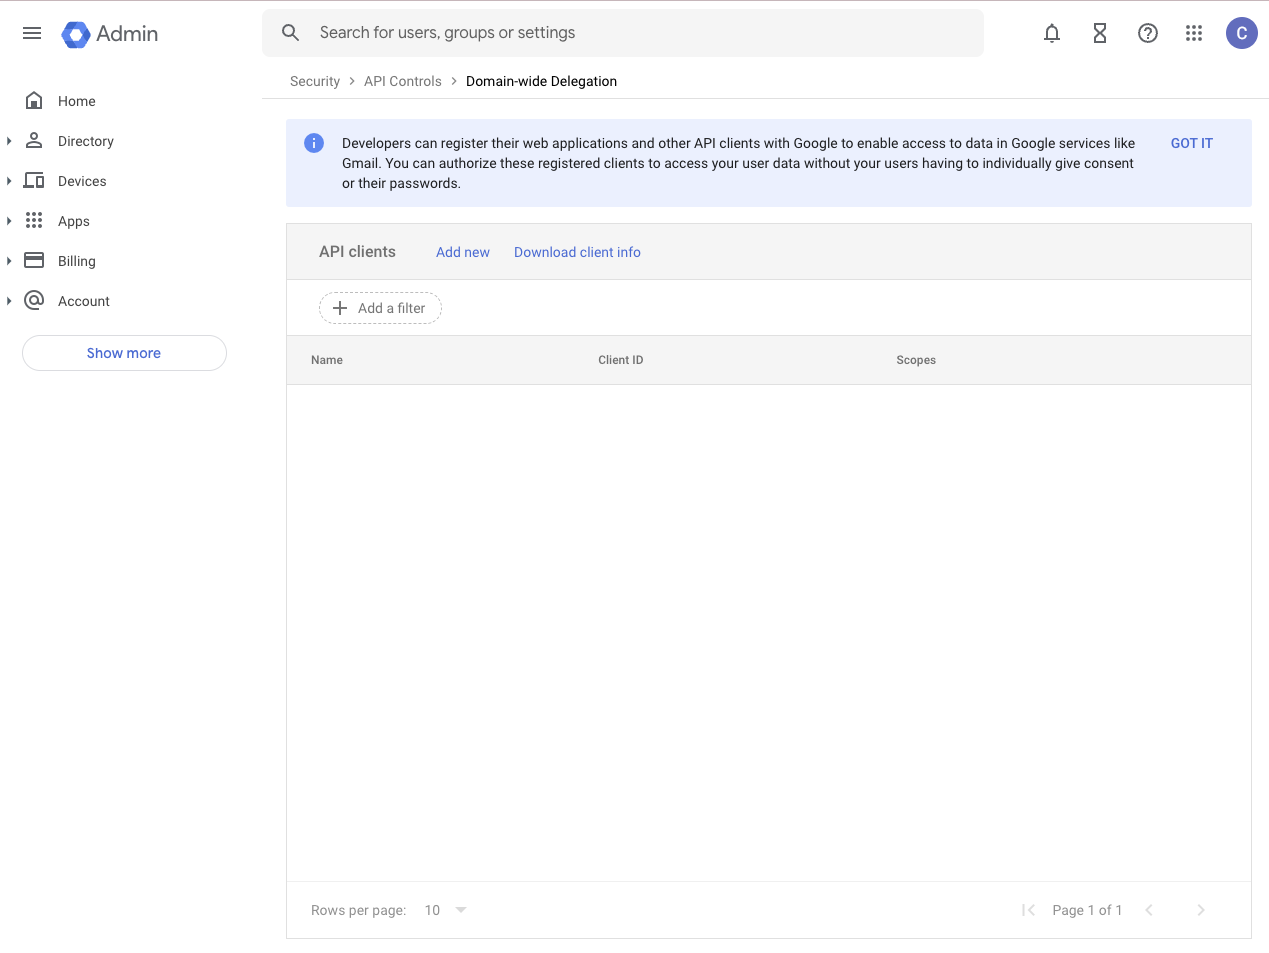
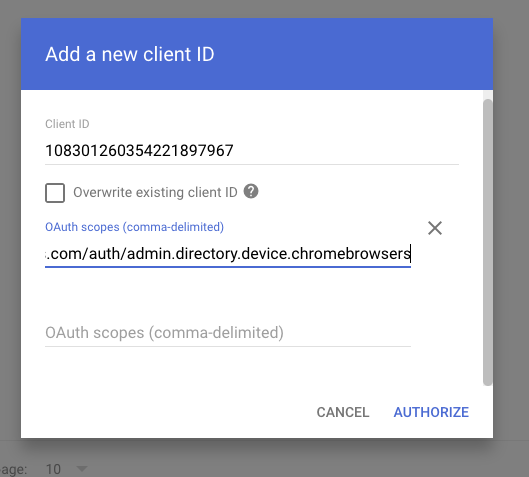
Go to https://admin.google.com/ac/owl/domainwidedelegation and click “Add new”. Paste the Unique ID you just copied in step 2.6 into the ClientID field, and then paste the following scopes into the “scopes” tab. You can see this flow in the screenshots below. Please note that it can take a few minutes for permissions changes to take affect, so if you’re adding new permissions to an existing provider registration you may need to wait about 15 minutes prior to retrying the action.
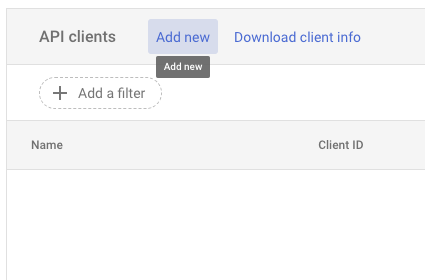
On the Domain-wide Delegation page, click Add new next to API clients.
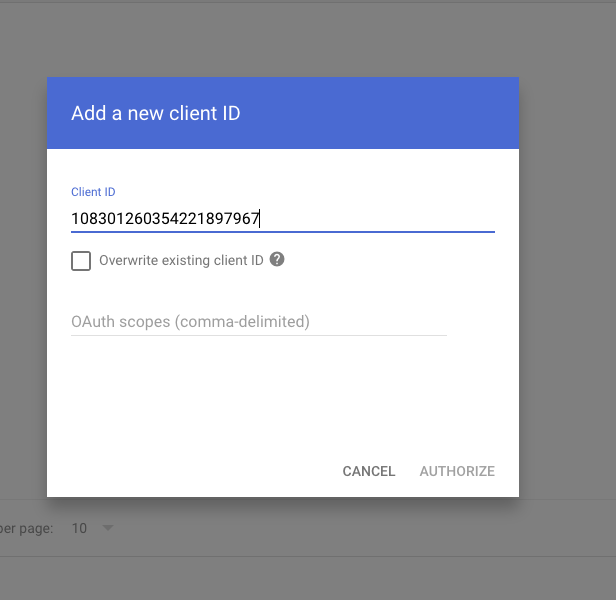
Paste your service account’s Unique ID and the scopes listed above, separated by commas.
4. Connecting Zip <> Google using the service account
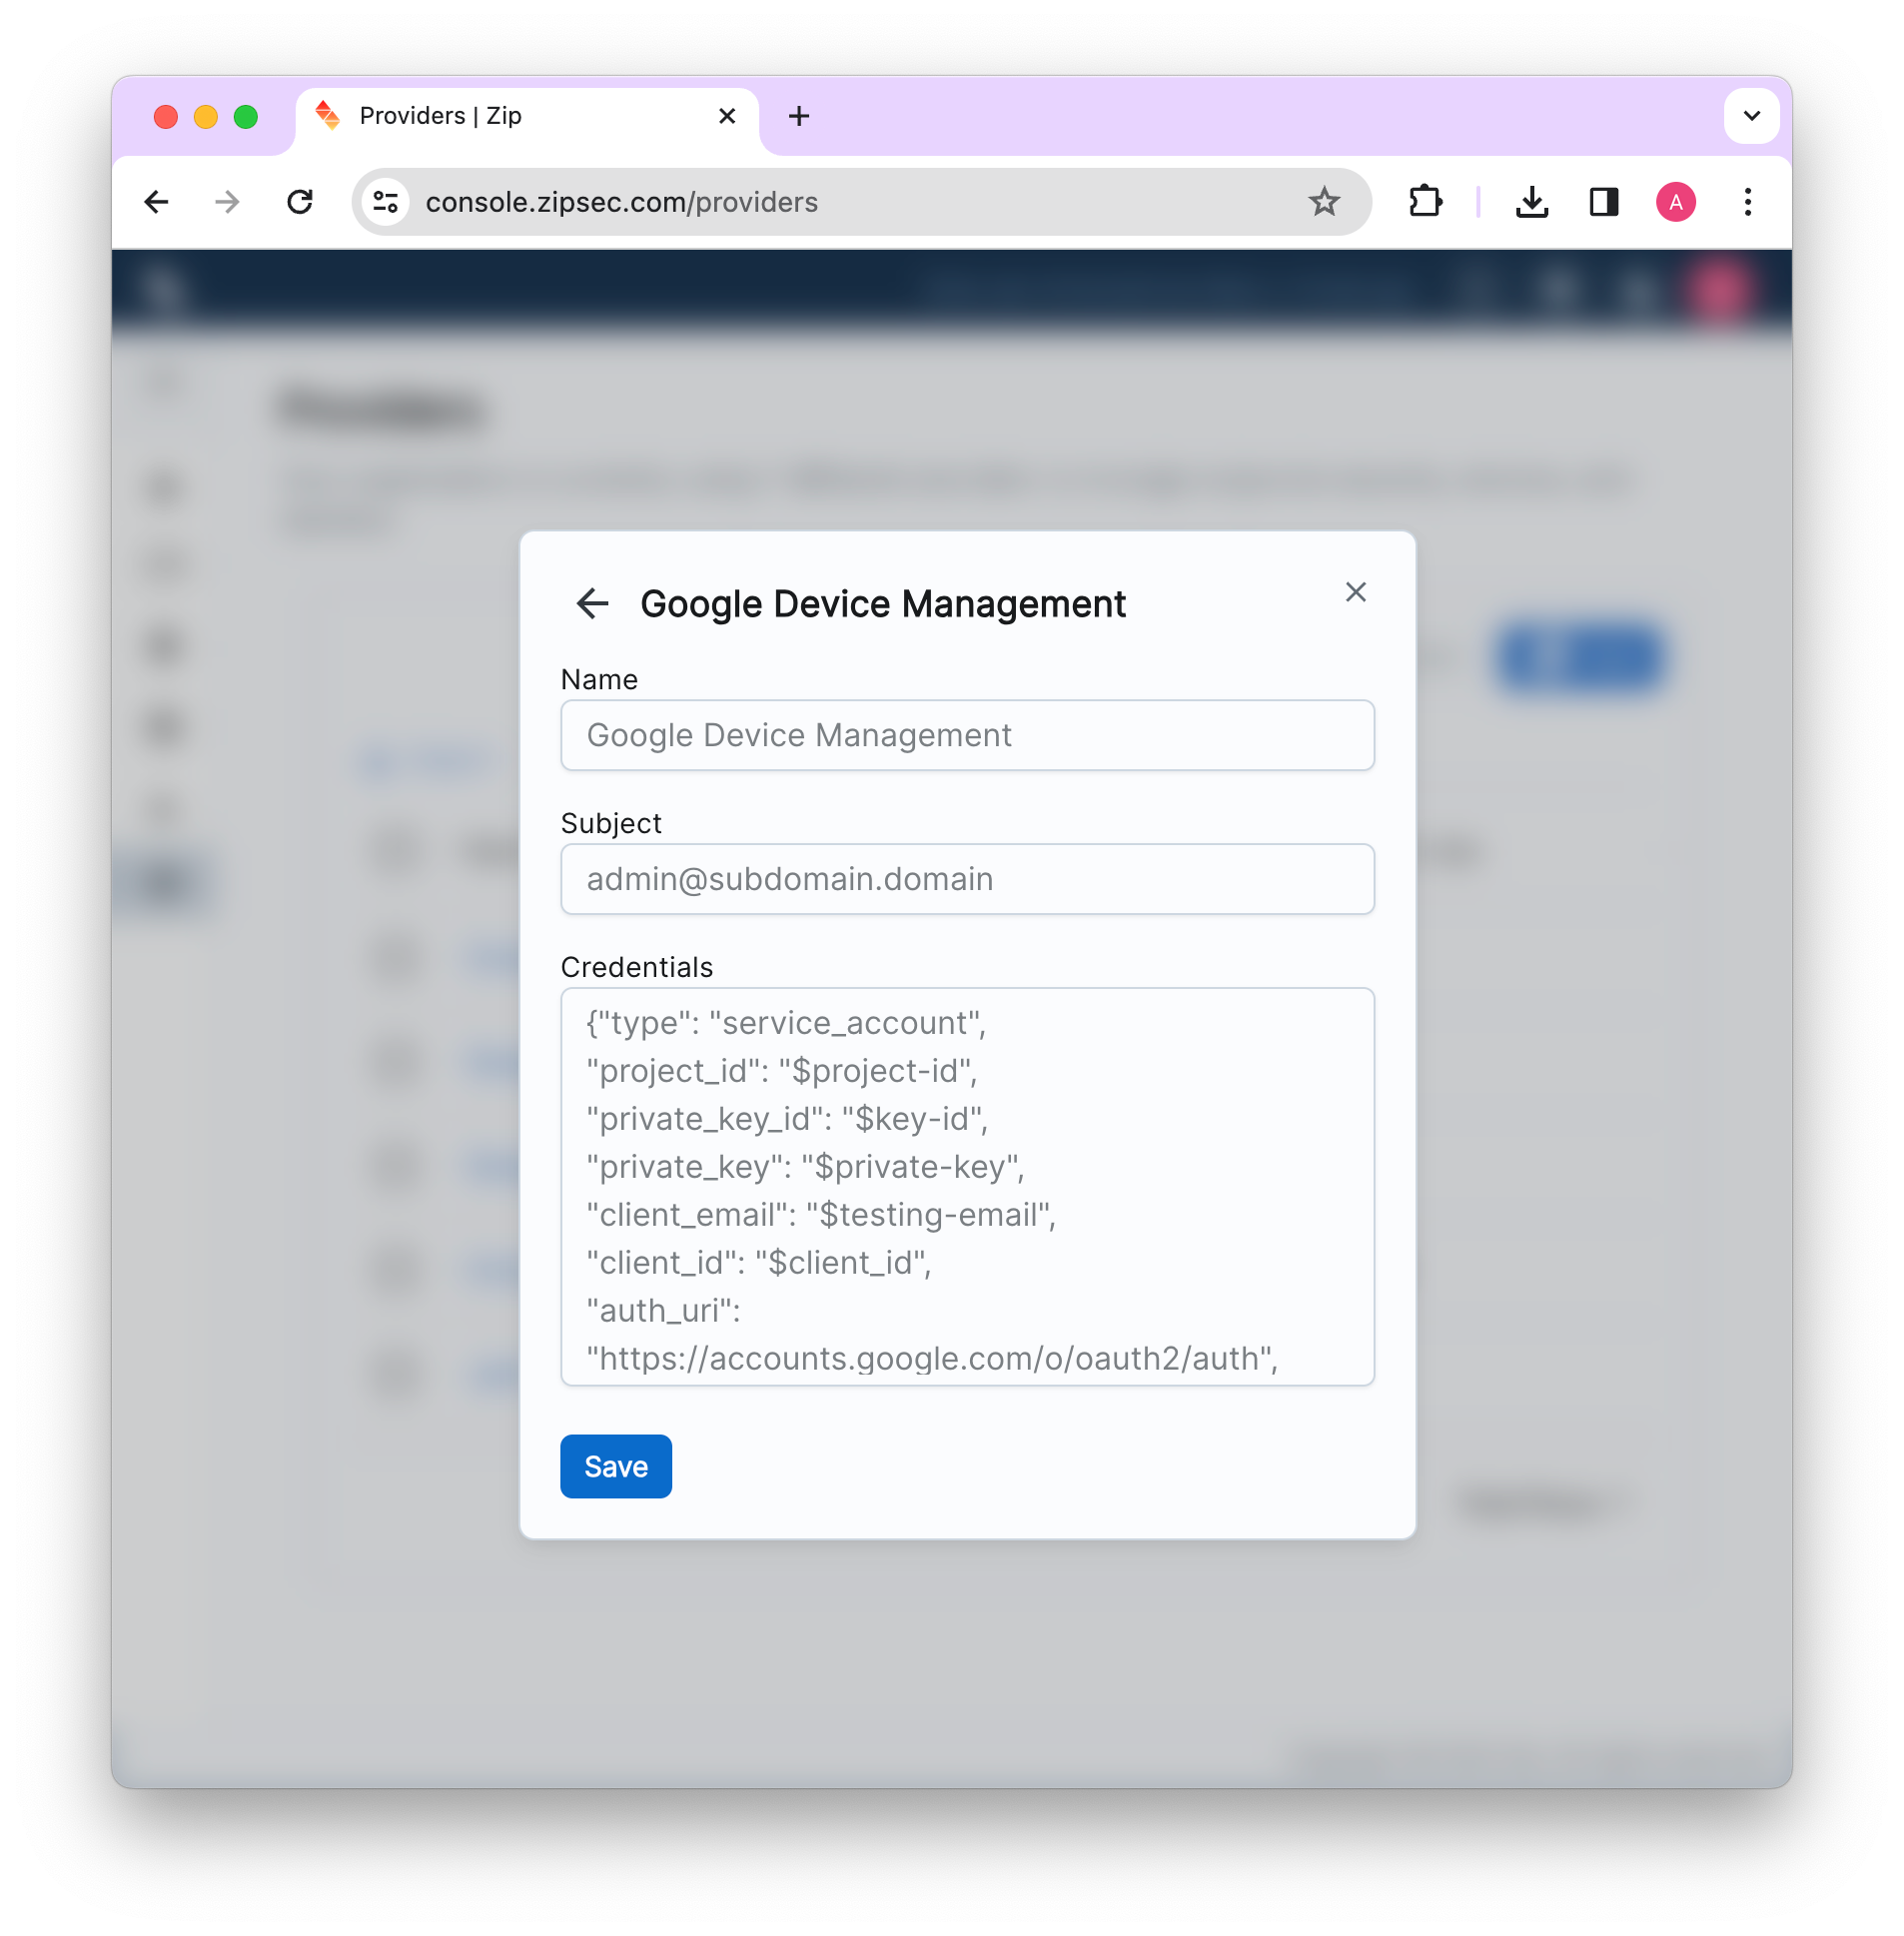
Finally, you can connect Zip <> Google! Navigate to https://console.zipsec.com and log in to your organization. Navigate to the “Providers” page, then press “Add” and add a new Google Device Management provider. Enter your email in the email field, and then copy/paste the contents of the .json file(s) you download in step 2.5 and click submit!
5. Troubleshooting Resources
If you’re coming across an error after adding the provider, the following may be useful:
From the Organizational Units pane on the left side, select the organization unit for which you want to install the Endpoint Verification extension. We recommend selecting the top-level organization unit.
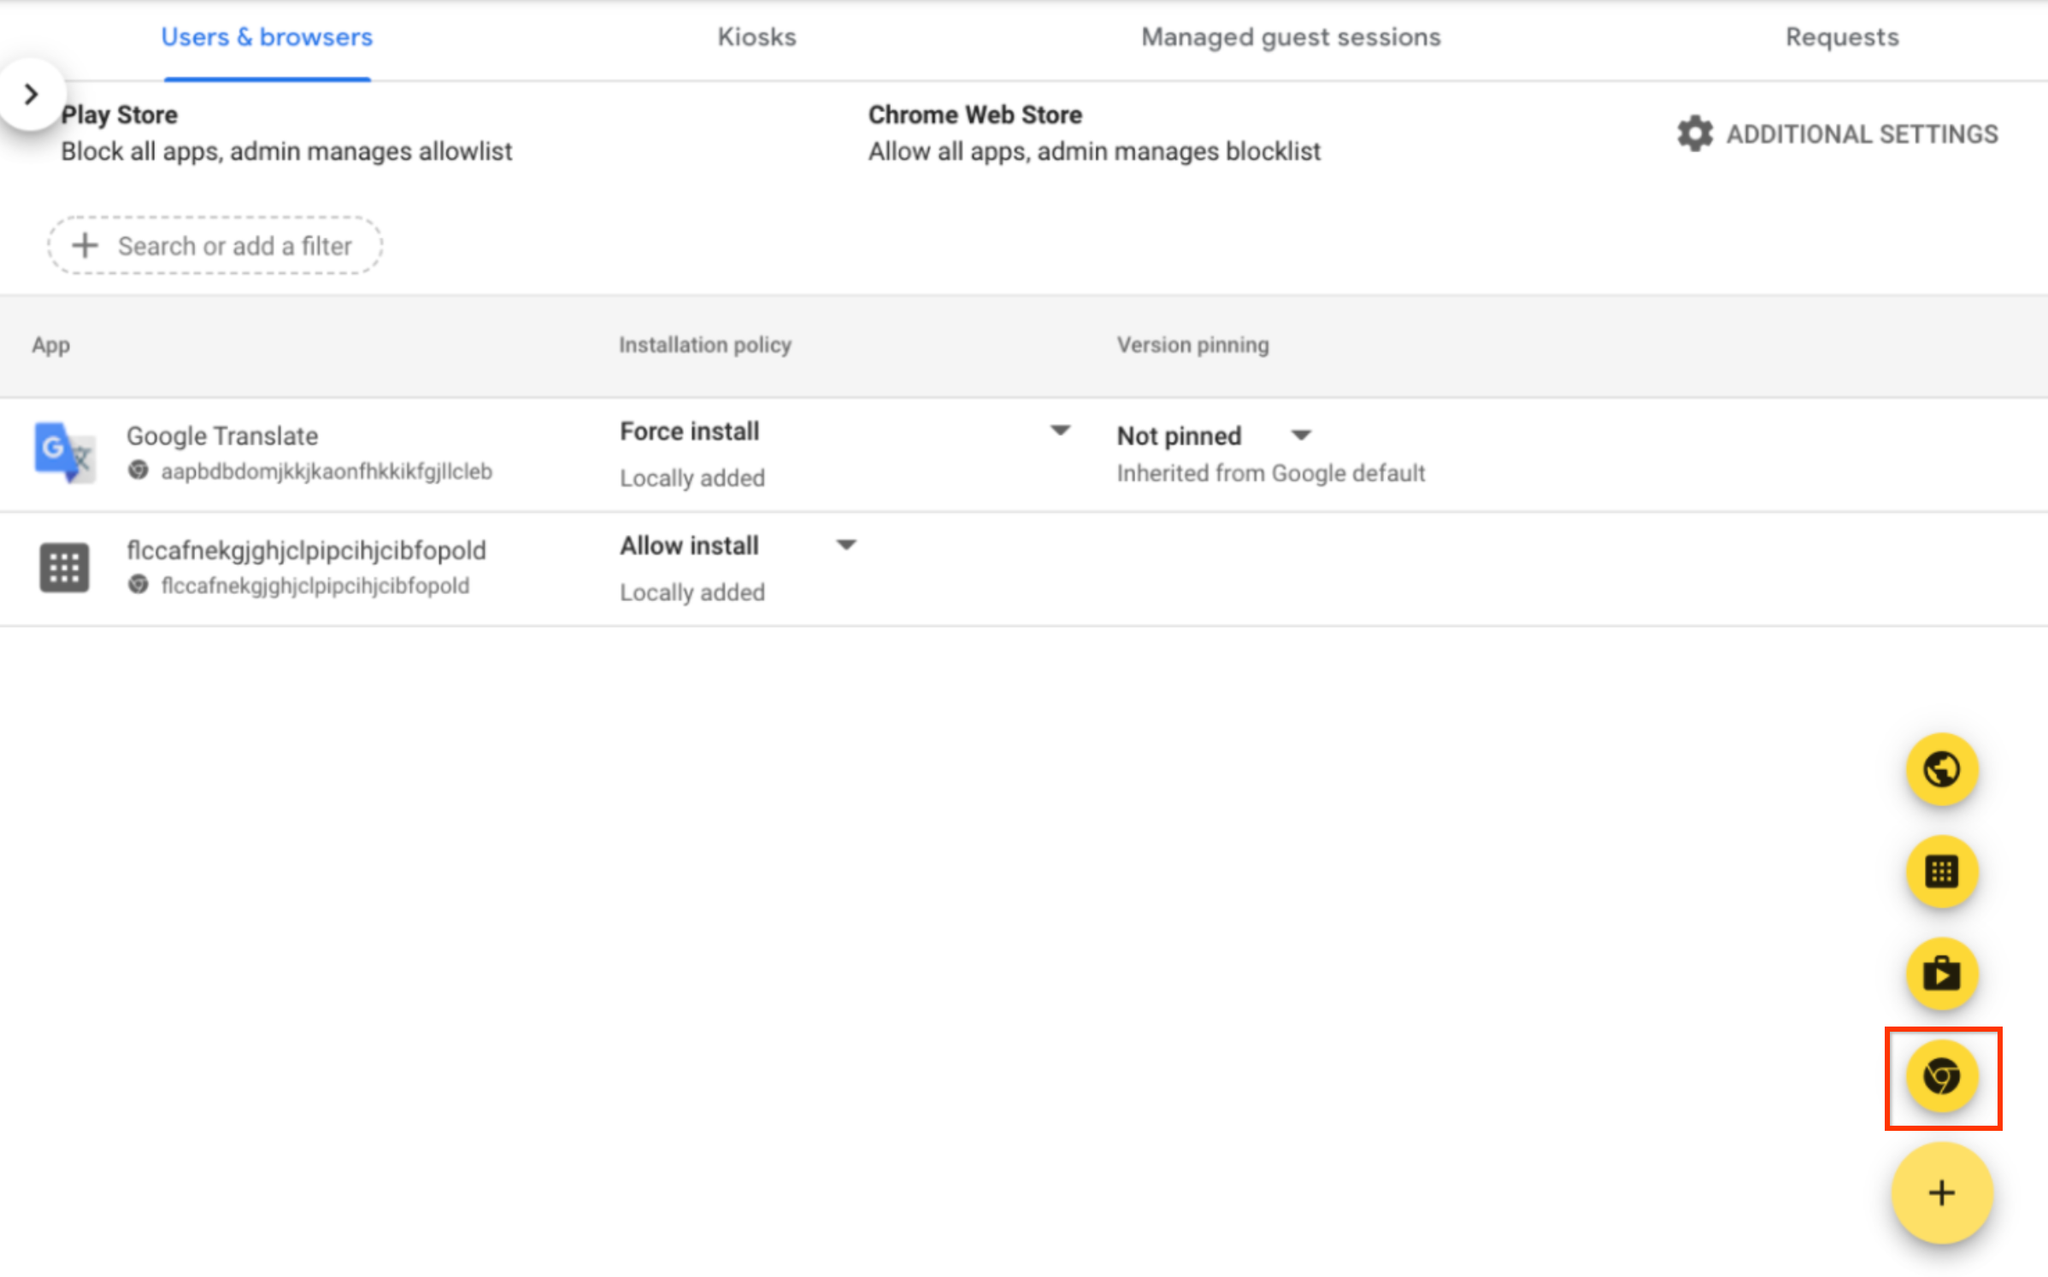
Hold the pointer over the plus-button on the right side, and click Add from Chrome Web Store.
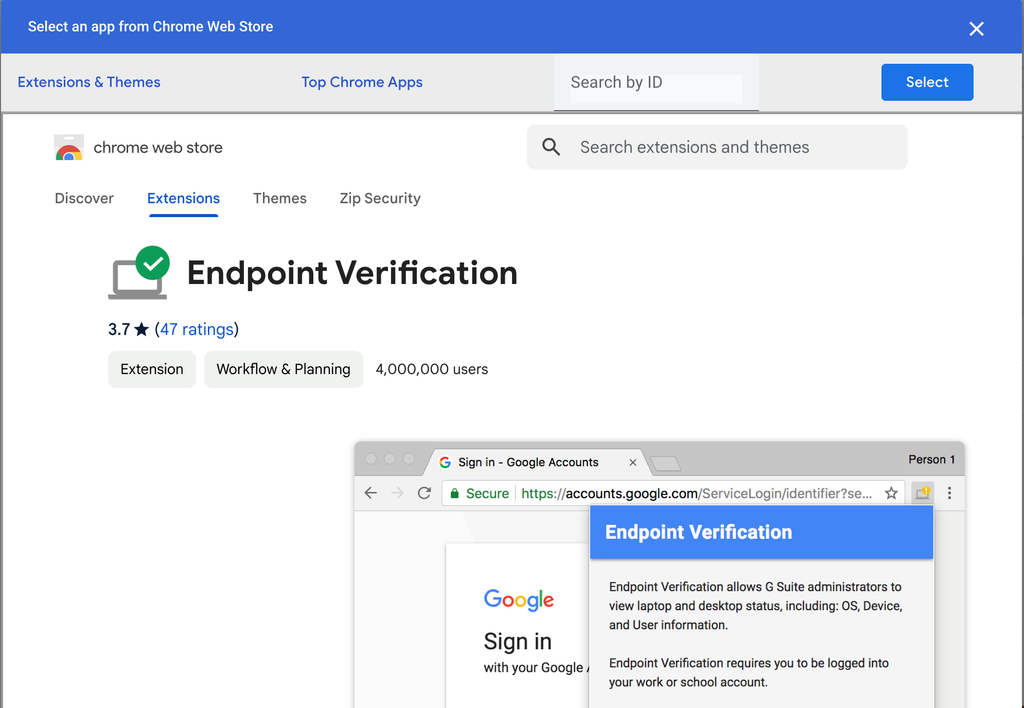
In the Search the store field, enter Endpoint Verification.
Click Endpoint Verification and then click Select.
At the top of the Endpoint Verification side bar, click the Installation policy drop-down, and select Force install.
Click Save.
Part Three: Turn on Chrome browser reporting
Chrome browser reporting enables you to get more detailed information from managed browsers with endpoint verification installed.
Part Four: Update permissions for the Google Device Management Integration
If you have not already set up the Zip Security & Google Device Management Integration, you can follow the instructions in the parent page here to add the new provider.
If you have already configured the provider, make sure you have added the permissions that are required for Chrome browser management.
Part Five: Enforce the Chrome Browser Management control in the Zip Console