
Below we outline the guidance for connecting Jamf to the Zip Console. If we are provisioning a Jamf instance for you, this step will be completed by the Zip team. If your organization already has Jamf provisioned, you can follow the below instructions to connect it with the Zip console.
Create A Service Account
- Create a Service Account
- Navigate to
https://{{your_jamf_domain}}/accounts.html - Click +New
- Select Create Standard Account and Click Next
- Select the level of access needed for the zip-service-account — we recommend full administrator to leverage all aspects of the Zip Console and always be up to date on new features!
- Automated device enrollment: Read
- Computer PreStage Enrollments: Read
- Computers: Read
- Jamf Cloud Distribution Service Files - Create, Read
- macOS Configuration Profiles: Create, Read, Update, Delete
- Packages: Create, Read, Update, Delete
- Policies: Create, Read, Update, Delete
- Smart Computer Groups: Create, Read, Update, Delete
- Static Computer Groups: Create, Read, Update, Delete
- Cloud distribution point: Read
- Computer inventory collection: Read
- Re-enrollment setting: Read
- Sso Settings: Read + Write
- User-Initiated Enrollment: Read
- View Disk Encryption Recovery Key
- Cloud distribution point: Update
- Re-enrollment setting: Update
- User-Initiated Enrollment: Update
- Generate a secure password
- Make sure “force user to change password” us unchecked
If you’re looking for reduced permissions (or want to minimally be able to use Zip without admin permissions) instructions are below:
1. Go to settings -> User accounts and groups. Click into the account you're going to use or create a new account.
2. On the Account page, make sure the
Privilege Set is Custom.3. Go to the Privileges page.
4. In the section
Jamf Pro Server Objects, make sure the following are selected:5. In the section
Jamf Pro Server Settings, make sure the following are selected:6. In the section
Jamf Pro Server Actions, make sure the following are selected:If you want to set up Jamf from scratch with the Zip recommended permissions, in the section
Jamf Pro Server Settings, make sure the following are selected:Connect Jamf Instance to Zip
- Click “Add new provider” > “Jamf” and enter the service account username, password, and Jamf URL that you set up
- Confirm on page refresh that the Jamf instance was properly connected to Zip
[If you plan to connect an identity provider] Check That Emails are Filled out in Jamf
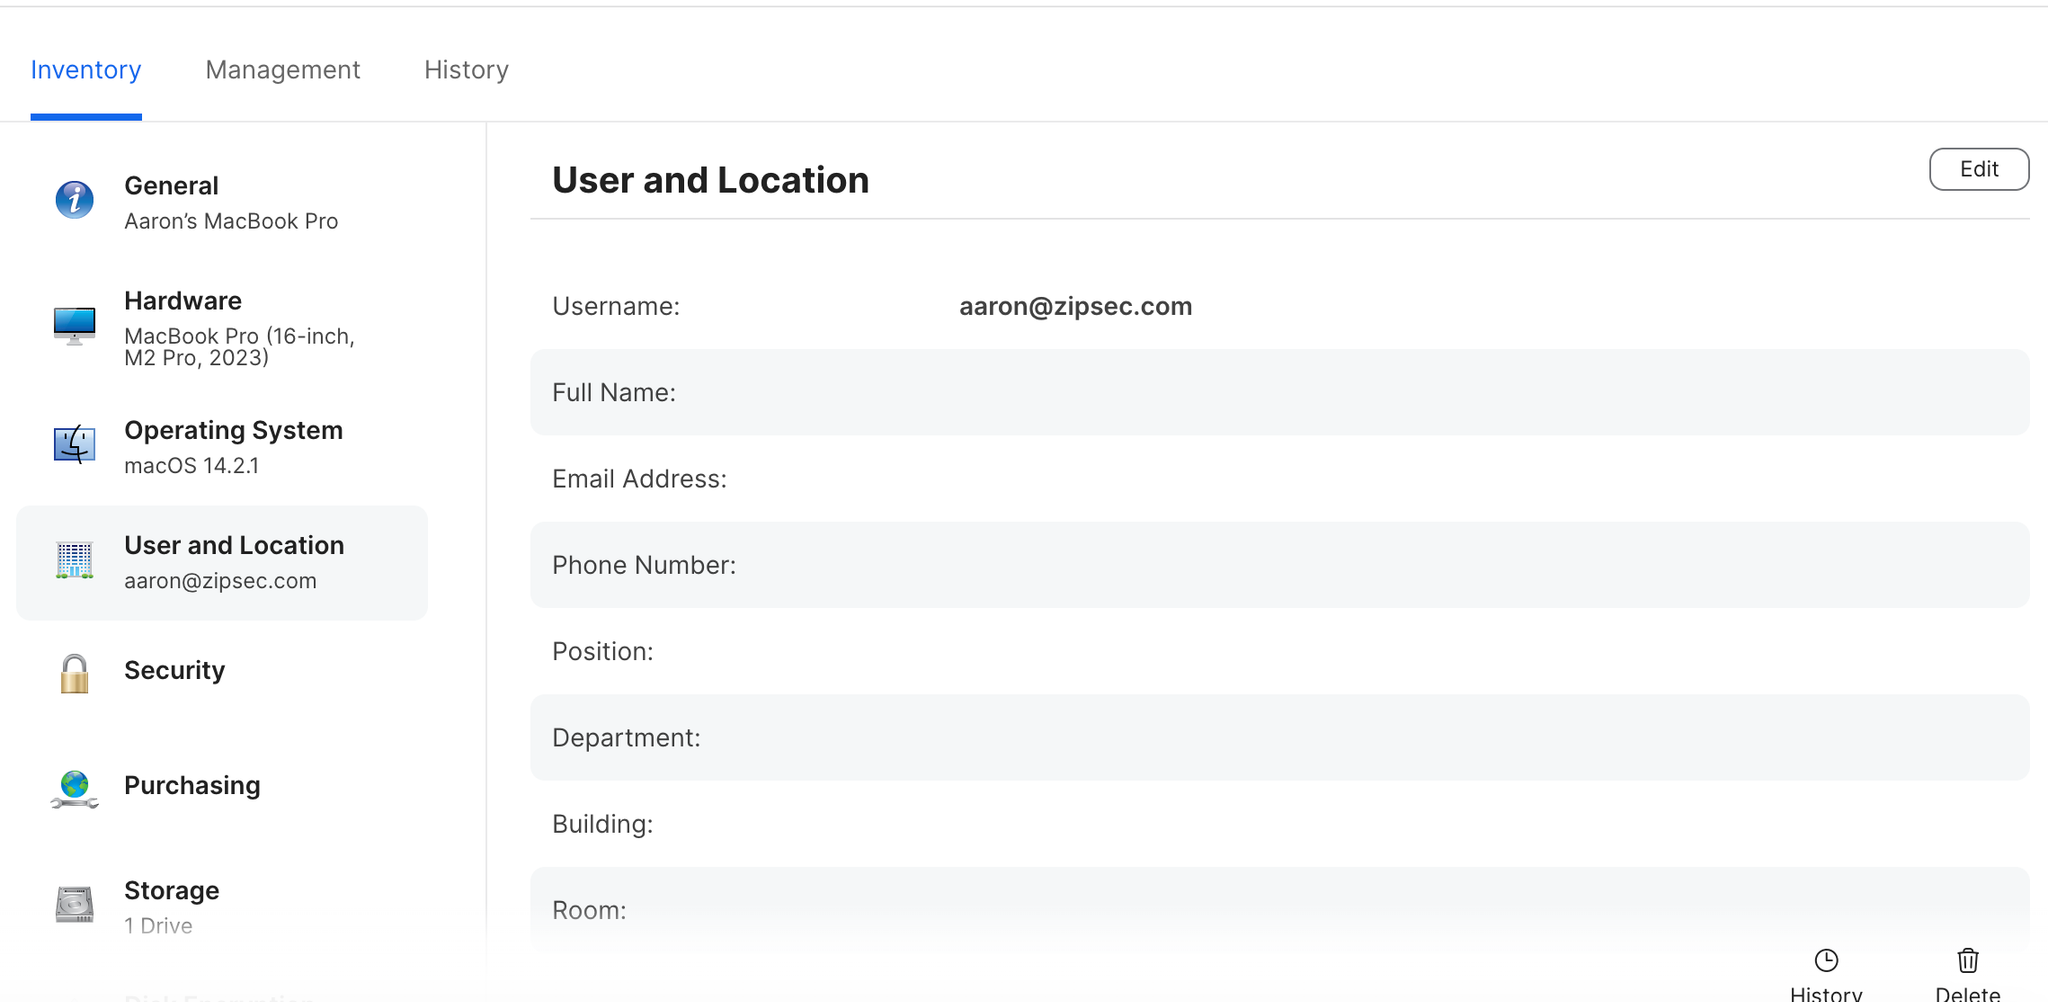
- In order to map identities to devices for inventory listing in the Zip Console, the email field needs to exist on all devices in Jamf. Email can exist in any of the user attributes (either name, or email) but must exist somewhere. To check, go to any device in Jamf > check the “User and Location” attribute > confirm an email exists (either in Username or Email Address). An example below:
Create a Push Certificate
In order to allow full control of your MacOS devices, we need to establish a trust relationship between Jamf and your corporate Apple account, allowing usage of the Apple Push Notification Service, which is how an MDM service can send commands and information to your devices.
We recommend doing this process fully in the Safari browser, as we’ve seen issues with other browsers in the past.
Requirements
- Your Jamf ID (please reach out to success@zipsec.com if this has not been shared with you)
- A valid corporate Apple Account.
Make sure you are not using a personal Apple ID for this step.
Jamf Pro: Create & Download Push Certificate
- Login to your Jamf Pro instance. The URL should match
{company_name}.jamfcloud.com. If you’re unsure of the domain, reach out to success@zipsec.com.
- In Jamf Pro, click Settings in the sidebar.
- In the Global section, click Push certificates .
- Click New.
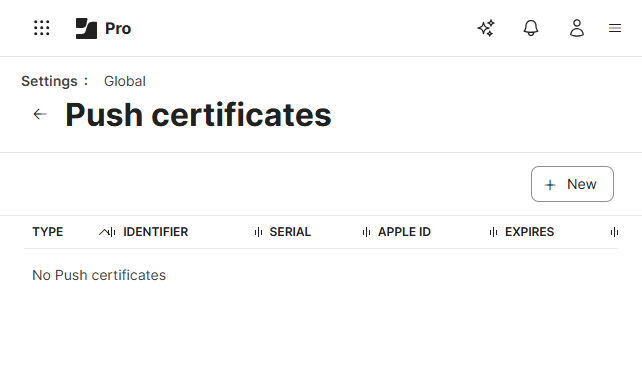
- Select Download signed CSR from Jamf.
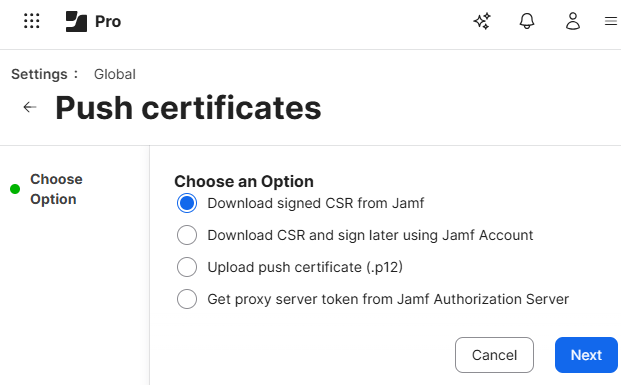
- Click Next. The CSR file JamfSignedCSR.plist will automatically be downloaded to your device.
Upload Jamf Certificate to Apple
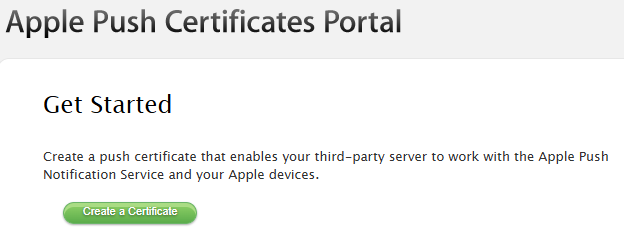
- Either click the link provided in Jamf Pro, or open a new tab and navigate to identity.apple.com/pushcert.
- After signing in, Click Create a Certificate.
- Click Choose File, select the
JamfSignedCSR.plistfile that you downloaded from Jamf Pro earlier (or was sent from your Account Manager), and click Upload.
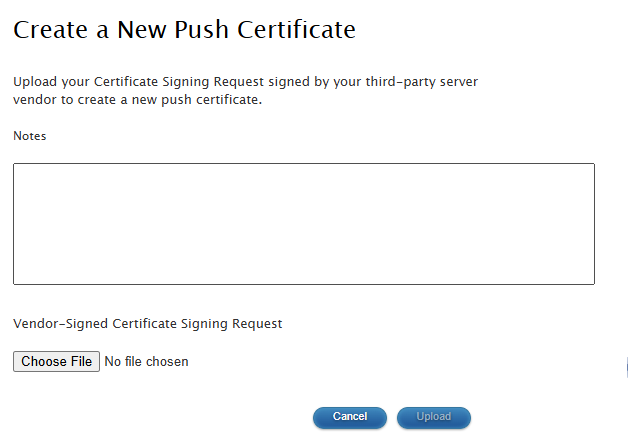
To improve record keeping, add an entry to the Notes box to specify what service is using the push certificate (i.e. Jamf Pro)
- On the next screen, click Download to download the push certificate.
Upload Apple Certificate to Jamf
- Return to Jamf Pro, and click Next.
- Click Upload.
- Click Choose File and navigate to the .pem file you downloaded from Apple, and click Upload.
- Return to the Push Certificates settings page, and click the newly created push certificate.
- Click Edit.
- In the Apple Account field, enter the Apple Account you used to create the push certificate.
This will ensure that in a year when the push certificate needs to be renewed, there will be no confusion about what Apple Account was used in the Apple Push Certificates Portal to generate the push certificate.
- Click Save .
- Take note of the date displayed in the Expiration Date field. On that date, in a year, the trust established today between APNs and Jamf Pro will break and all device communication will immediately cease.
The Zip Console provides a health check within the Providers page that will alert you to when this certificate is expiring.
Questions? Here’s how to reach us:
- Email: success@zipsec.com